

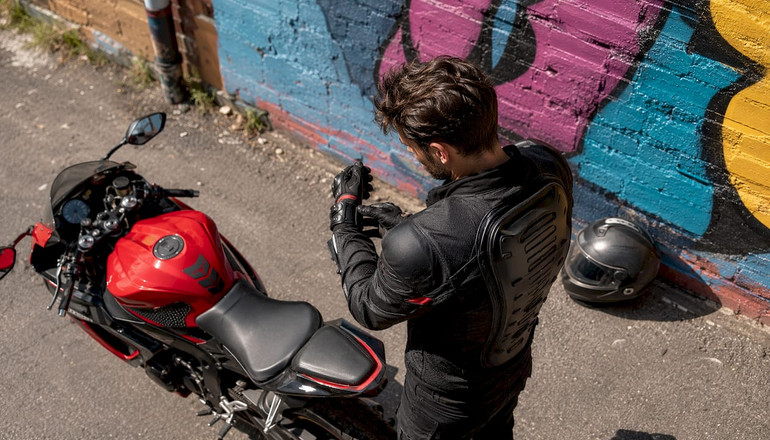
Motorcycle Back Protectors for Sportbikes: What Riders Need
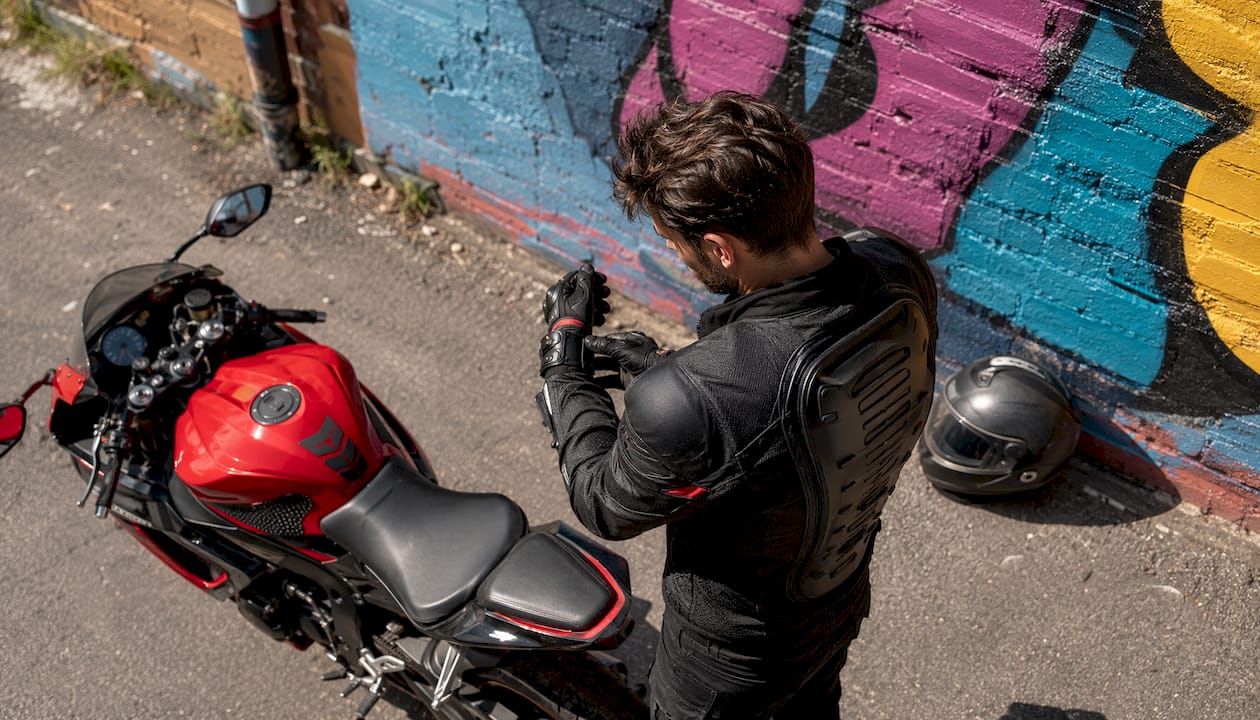
Yes, sportbike riders should wear a back protector, and the short answer on which kind is this: go CE EN 1621-2 Level 2, full stop. Level 1 is fine for low-speed town commuting, but the moment you’re carving canyons, hammering a highway, or lapping a track, Level 2 is the only sensible call. Your spine is not a “good enough” situation.
Here’s the quick-hit version before we get into the fun stuff:
- CE level: EN 1621-2 Level 2 for aggressive street, track, and canyon riding; Level 1 acceptable for casual low-speed commuting only
- Best material: Modern viscoelastic foams like D3O or Nucleon Plasma deliver Level 2 protection in slimmer, more flexible profiles than old hard plates
- Form factor: Standalone or race-specific protectors beat jacket inserts for sportbike riders because they stay put under tight leathers and cover more spine
- Fit is king: Correct spine-length positioning and a secure attachment system matter more than any brand name on the label
- Where to shop: Dmgmotorsports stocks CE-rated protectors and offers fit guidance so you’re not guessing at sizing
Table of Contents
- Do you actually need a back protector for sportbike riding?
- What types of back protectors are available for sportbike riders?
- How to choose the right back protector for sportbike riding
- How to measure your spine and test protector fit on a sportbike
- Installing your protector with sport jackets, race suits, and two-piece leathers
- Care, maintenance, and when to replace your back protector
- Why D3O and Nucleon Plasma change the game for sportbike riders
- Key Takeaways
- Why fit and materials matter more than most riders think
- Gear up with Dmgmotorsports: CE-rated protectors and real fit support
- Useful sources and further reading
Do you actually need a back protector for sportbike riding?
Short answer: yes, and the risk scenarios make it obvious. On a trackday, you’re riding at speeds and lean angles that would make your insurance agent cry. On a canyon road, a single lowside can send you sliding into a guardrail. On a high-speed highway, the forces involved in a crash are brutal. In all three cases, your spine is directly in the line of fire.
Trackday rules are tightening up, too. Some UK operators, including Motorsport Vision Trackdays, made back protectors compulsory starting in 2022, and U.S. track organizers are following the same trend. Check your event’s specific requirements before you show up, because “I didn’t know” won’t get you on track.
The old complaint about back protectors was that they were hot, stiff, and uncomfortable. Modern viscoelastic materials have largely killed that argument. You can now get Level 2 protection in a protector that flexes with your body and breathes reasonably well, which means the comfort trade-off is much smaller than it used to be. For sportbike gear breathability, pairing a vented protector with a mesh jacket is a legitimate summer strategy.
Pro Tip: If you’re a daily commuter doing mostly low-speed city riding, a Level 1 jacket insert is a reasonable starting point. But if your weekends involve any canyon or track time, keep a Level 2 standalone ready to swap in.
Here’s a quick use-case breakdown:
- Daily commuter (city, low speed): Level 1 jacket insert is acceptable; standalone optional
- Canyon/aggressive street rider: Level 2 standalone or race-specific protector strongly recommended
- Track/race day rider: Level 2 standalone or integrated airbag vest; check event rules for minimum requirements
- Sport-tourer (long highway miles): Level 2 standalone for highway speeds; ventilation matters for comfort
What types of back protectors are available for sportbike riders?
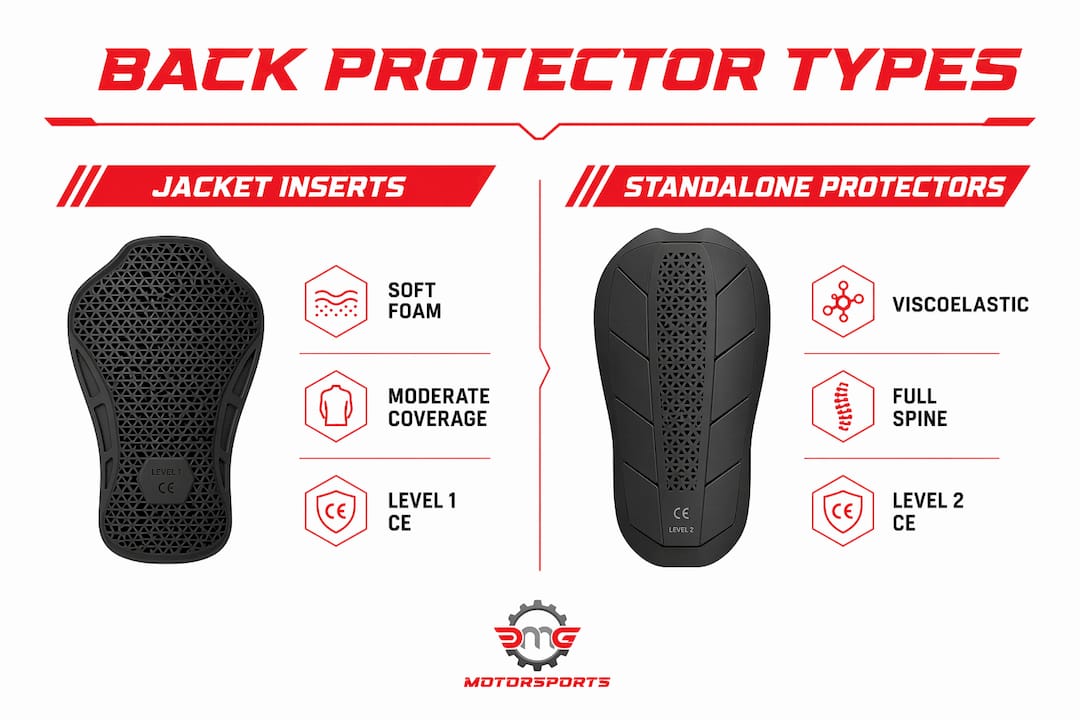
Not all back protectors are built the same, and the form factor you choose will affect how well it works for your specific riding style. Here’s how the main types stack up:
| Type | Coverage | Typical CE Level | Best Use Case |
|---|---|---|---|
| Jacket insert (soft foam) | Moderate | Level 1 | Casual street, commuting |
| Jacket insert (upgraded) | Moderate | Level 1–2 | Street riding with jacket |
| Slim standalone | Good | Level 1–2 | Street, sport touring |
| Articulated standalone | Excellent | Level 2 | Sportbike, canyon, track |
| Hard-plate standalone | Good | Level 2 | Track, race use |
| Vest/gilet style | Excellent | Level 1–2 | All-season, layering |
| Airbag-integrated vest | Maximum | Level 2 + airbag | Track, advanced street |
Jacket inserts are the most common starting point because they drop straight into your jacket’s back pocket. The problem is that most stock inserts are Level 1 at best, and they can shift around inside the pocket during aggressive riding. Upgrading to a Level 2 insert is a cheap win if your jacket pocket is the right size.
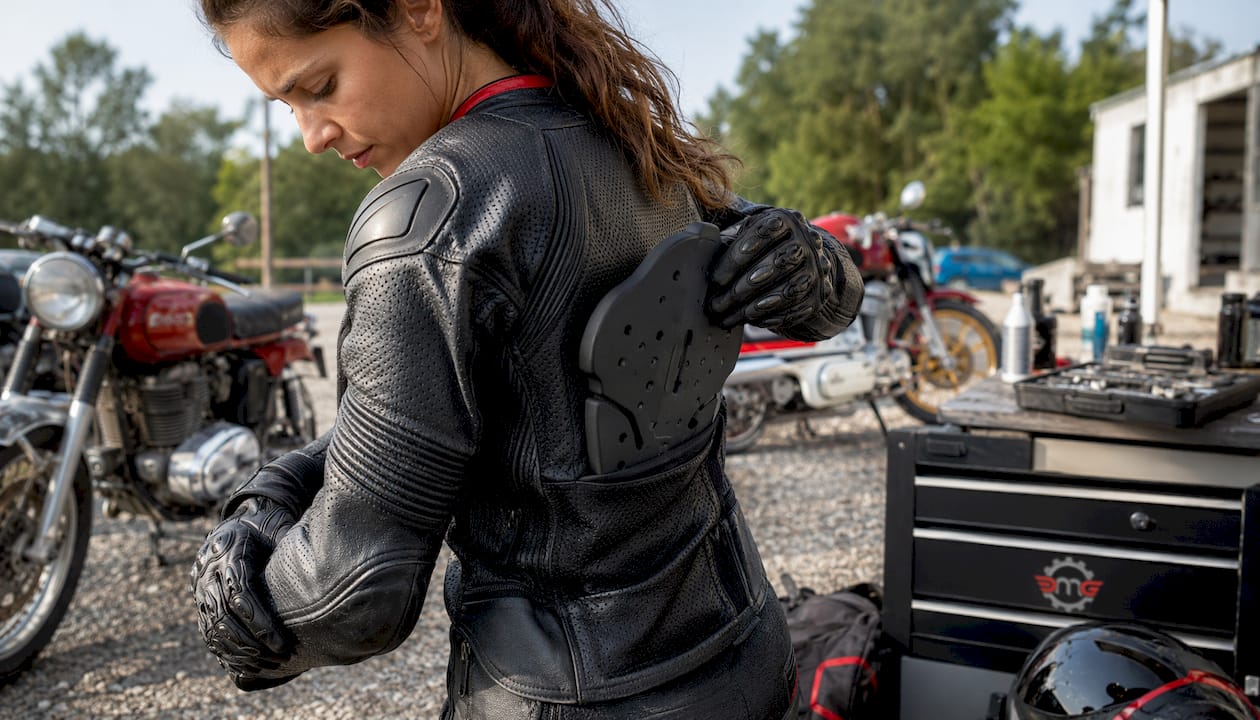
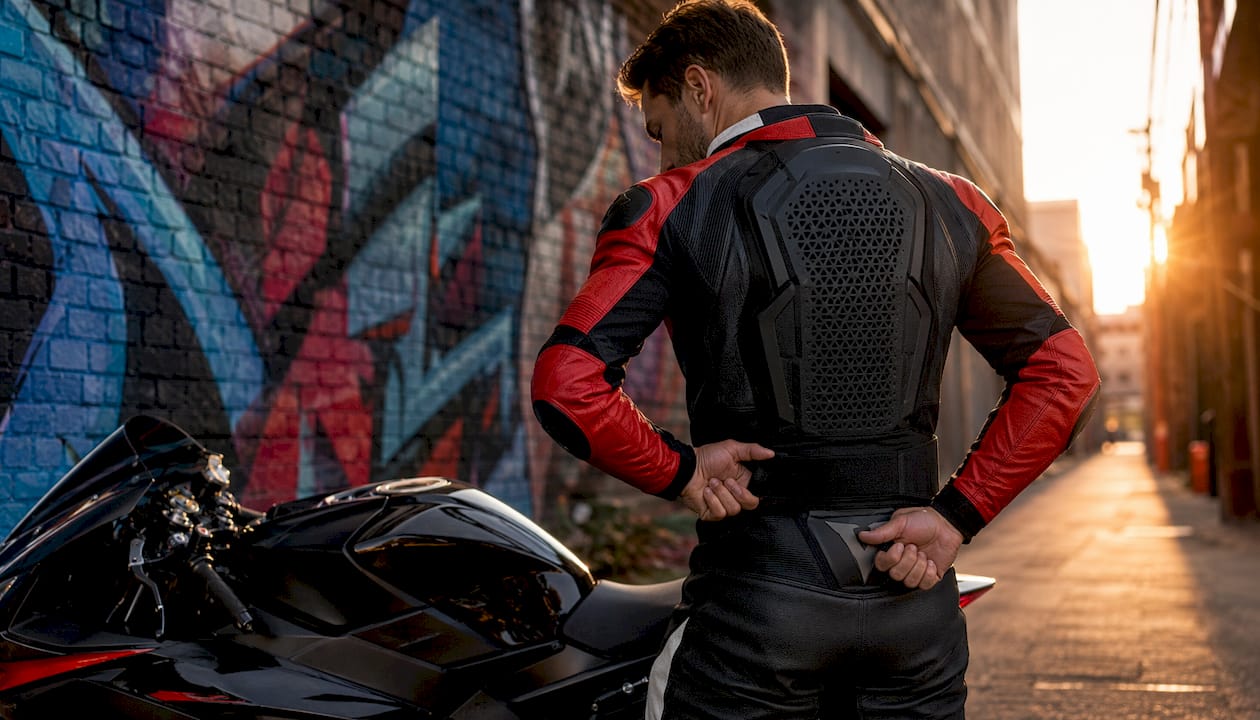
Standalone protectors are the preferred choice for sport and track riders. They sit directly against your body, adjust via waist belts and shoulder straps, and typically cover more of the thoracic and lumbar spine than any jacket insert. Under tight race leathers, a standalone protector stays exactly where you put it.
Airbag-integrated vests are the premium tier. Modern versions are far lighter than first-generation units and some include D3O Level 2 back protection built into the vest alongside the airbag system, with inflation times under 60 milliseconds. They’re a serious investment, but for track riders who want maximum coverage, they’re worth the conversation.
How to choose the right back protector for sportbike riding
Do you need Level 2? If you’re riding a sportbike with any aggression at all, yes. The CE EN 1621-2 standard defines two levels of impact absorption, and Level 2 is the higher-rated protection. For track and canyon use, Level 1 simply doesn’t absorb enough energy in a hard impact.
Here’s a practical decision framework:
- Decide your CE level first. Level 2 for track, canyon, and highway. Level 1 only for low-speed commuting.
- Measure your spine length. From C7 (the bony bump at the base of your neck) to the top of your tailbone. Match that measurement to the protector’s published spine-length spec.
- Check your jacket or suit compatibility. Does it have a back pocket? What size? Or will you wear a standalone under your leathers?
- Assess coverage area. For sportbike positions, you want thoracic and lumbar coverage. Longer protectors cover more; make sure the bottom doesn’t dig into your seat when you’re tucked.
- Consider ventilation. Articulated viscoelastic protectors breathe better than solid hard plates. If you ride in heat, this matters a lot.
- Set your budget. Entry-level CE-rated inserts run roughly $30–$80. Mid-range standalone protectors with Level 2 certification land around $80–$180. Premium articulated or airbag-integrated options run $200 and up, with high-end airbag vests reaching $500–$1,000+.
Attachment systems matter more than most riders realize. A protector with a waist belt and shoulder straps stays in position during aggressive braking and cornering. A loose insert in a jacket pocket can shift several inches in a crash, leaving your spine exposed exactly when you need coverage most.
For jacket compatibility, check out how to choose motorcycle jacket material to understand which jacket constructions have proper back-pocket sizing for Level 2 inserts.
How to measure your spine and test protector fit on a sportbike
Get this right and everything else falls into place. The measurement process takes about five minutes and saves you from buying the wrong size.
- Find your C7 vertebra. Tilt your head forward. The prominent bump at the base of your neck is C7. That’s your top landmark.
- Measure to the tailbone. Run a flexible tape measure from C7 straight down your spine to the top of your buttocks. Write that number down.
- Cross-check the manufacturer’s spine-length spec. Different brands use slightly different landmarks, so always compare your measurement against the protector’s published spine-length range, not just the S/M/L size label.
- Put on your jacket or leathers. Install the protector in the jacket pocket or strap it on as a standalone.
- Sit on your bike in full riding position. Lean forward into your normal sportbike tuck. Check that the top of the protector sits below your helmet’s neck roll and that the bottom isn’t digging into the seat or your lower back.
- Check for movement. Shift your weight, simulate a hard braking position, and lean side to side. The protector should not shift more than an inch in any direction.
- Adjust straps. Tighten the waist belt until the protector feels snug but not restrictive. Shoulder straps should hold the top in place without pulling uncomfortably.
If the protector rides up when you lean forward, the waist belt needs tightening. If the bottom digs into your seat, try the next size down or a protector with a shorter spine-length spec. Motorcycle ergonomics play a real role here: sportbike riding positions are more aggressive than touring, so what fits standing up may not fit correctly on the bike.
Installing your protector with sport jackets, race suits, and two-piece leathers
Installation varies by gear setup, and getting it wrong is surprisingly common. Here’s how to handle each scenario:
- Jacket insert pocket: Slide the protector in with the spine-following curve facing your back. Check that it’s centered on the spine, not canted to one side. Zip or velcro the pocket closed.
- Standalone under a sport jacket: Strap the protector directly to your body first, then put the jacket on over it. The jacket should sit over the protector without compressing it.
- Standalone under one-piece race leathers: Strap on the protector, then step into the suit. One-piece suits have less room, so a slim articulated protector works better than a bulky hard plate.
- Two-piece leathers with zip connection: This is where shoulder straps can cause trouble. Removing or repositioning shoulder straps lets the protector sit lower, which integrates better when the jacket and pants zip together. The waist belt then carries the load.
- Airbag vest: Wear it over your base layer and under your outer jacket. Leave clearance around the vest’s inflation zones and follow the manufacturer’s deployment-clearance guidelines exactly.
After installation, run through a quick on-bike checklist: sit in riding position, simulate braking, check that the protector hasn’t shifted, and confirm the jacket or suit zips and moves freely over it. Proper motorcycle gear should feel like a second skin, not a wrestling match.
For riders combining back and chest protection, combined back and chest protectors increase protected surface area and are a common choice among track and adventure riders who want broader upper-body coverage.
Care, maintenance, and when to replace your back protector
The golden rule is simple: replace after any significant crash. Manufacturer guidance consistently recommends retiring armor after a hard impact, even if it looks fine. Viscoelastic foams and hard plates absorb energy by deforming at a microscopic level. You can’t see that damage, but the protection is gone.
For routine maintenance:
- Clean with mild soap and water. No solvents, no bleach, nothing that can degrade the foam or shell material.
- Air dry completely before storing or wearing. Trapped moisture breaks down foam over time.
- Store flat, away from direct sunlight and extreme heat. UV exposure and heat cycles degrade both soft foam and hard-shell materials faster than normal wear.
- Inspect regularly for cracks in hard plates, tears in foam, and worn or broken attachment hardware.
Under regular use without a crash, most quality protectors last several years before the materials show meaningful degradation. Check the manufacturer’s stated lifespan, because it varies by material type.
Pro Tip: After any crash, even a slow-speed tip-over, pull the protector out and inspect it under good light before riding again. If you see any cracking, compression marks, or deformation, retire it immediately and order a replacement.
Why D3O and Nucleon Plasma change the game for sportbike riders
Old-school back protectors were a trade-off: hard plates gave you Level 2 protection but were stiff, heavy, and hot. Soft foam inserts were comfortable but rarely hit Level 2. Modern viscoelastic foams broke that trade-off wide open.
D3O’s viscoelastic technology works by remaining soft and flexible during normal movement, then stiffening and absorbing energy on impact. The result is a protector that moves with your body during a sportbike tuck but locks up to disperse crash forces when you need it. Nucleon Plasma uses a similar principle: articulated foam sections that follow the spine contour and flex through corners without shifting.
| Feature | EN 1621-2 Level 1 | EN 1621-2 Level 2 |
|---|---|---|
| Protection rating | Standard | Higher impact absorption |
| Typical material | Basic foam, soft insert | Viscoelastic foam, hard plate, or articulated |
| Profile | Slim | Slim to moderate (modern viscoelastic) |
| Flexibility | High | High (viscoelastic) to low (hard plate) |
| Ventilation | Good | Good to excellent (articulated designs) |
| Best use | Commuting, casual street | Track, canyon, aggressive street |
Articulated, vented Level 2 protectors combine spine-following plates or soft articulated foam sections with adjustable waist straps, which makes them genuinely comfortable in the forward-leaning sportbike position. The ventilation channels in modern designs also help manage heat, which matters when you’re wearing full leathers on a warm day.
Dmgmotorsports carries a selection of protectors using these modern materials. If you want to compare options across the D3O and Nucleon Plasma families, the product pages include CE level details and spine-length specs so you can match before you buy.
Key Takeaways
For sportbike riders, CE EN 1621-2 Level 2 protection in a modern viscoelastic standalone protector is the clearest, most defensible choice for aggressive riding and track use.
| Point | Details |
|---|---|
| CE level for sportbikes | Choose EN 1621-2 Level 2 for track, canyon, and highway; Level 1 suits low-speed commuting only. |
| Modern materials win | D3O and Nucleon Plasma deliver Level 2 protection in thinner, more flexible formats than hard plates. |
| Fit over brand | Measure spine length from C7 to tailbone and verify the fit while seated on your bike before committing. |
| Replace after impact | Retire any protector after a significant crash, even if it looks undamaged. |
| Shop at Dmgmotorsports | Dmgmotorsports stocks CE-rated back protectors with spine-length specs and fit guidance to help you choose correctly. |
Why fit and materials matter more than most riders think
Here’s the thing that surprises a lot of riders who come to Dmgmotorsports looking for a back protector: the most common mistake isn’t buying the wrong CE level. It’s buying the right CE level in the wrong size and then wondering why it feels uncomfortable or shifts around.
The riders who get the most out of their protectors are the ones who measure their spine length before they order, check the on-bike fit before their first ride, and actually use the waist belt and straps the way they’re designed. A Level 2 protector that’s two sizes too large and flopping around in a jacket pocket is not giving you Level 2 protection in a crash. It’s giving you a false sense of security, which is arguably worse.
Modern viscoelastic materials have genuinely changed what’s possible. You no longer have to choose between protection and comfort. But those materials only work when the protector is correctly positioned against your spine. That’s the part no marketing copy can do for you. Get the measurement right, test it on the bike, and adjust the straps until it doesn’t move. Everything else is details.
Gear up with Dmgmotorsports: CE-rated protectors and real fit support
Dmgmotorsports is the place to shop when you want CE-rated back protection without the guesswork of sorting through uncertified options or vague size charts.
The product catalog includes back protectors across entry, mid-range, and premium price points, with CE level and spine-length specs listed so you can match your measurements before checkout. Whether you’re outfitting for trackdays, canyon runs, or daily sport riding, the range covers standalone articulated protectors, jacket-compatible inserts, and airbag-compatible options. Fit questions? The team is there to help you narrow it down. Returns are available if the fit isn’t right when it arrives. Head to Dmgmotorsports to browse the full back protector selection and get the right protection dialed in before your next ride.
Useful sources and further reading
- D3O Motorcycle Protection — Material technology, CE certification explained, and product range for viscoelastic motorcycle armor
- MCN: Best Motorcycle Back Protectors — Tested reviews of standalone and jacket-insert protectors, fit guidance, and trackday rule updates
- MCN: Best Motorcycle Armour — CE standard explanations, Level 1 vs Level 2 breakdown, and replacement guidance
- Trackday rules: Always check with your specific event organizer for current back protector requirements. Rules vary by venue and series, and they are tightening across the U.S. and internationally.
- DMG Motorsports: Proper Motorcycle Gear for Track Riding — Broader track-gear guidance including how back and chest protection fit into a full kit
Recommended
- Motorcycle Chest Protector Explained: Your Safety Guide - DMG Motorsports
- Staying Safe and Stylish on the Track: The Importance of Proper Motorcycle Gear - DMG Motorsports
- Sportbike Racing Boot Explained: Full Rider Guide - DMG Motorsports
- Sportbike Wind Protection Options: Your Practical Guide - DMG Motorsports