

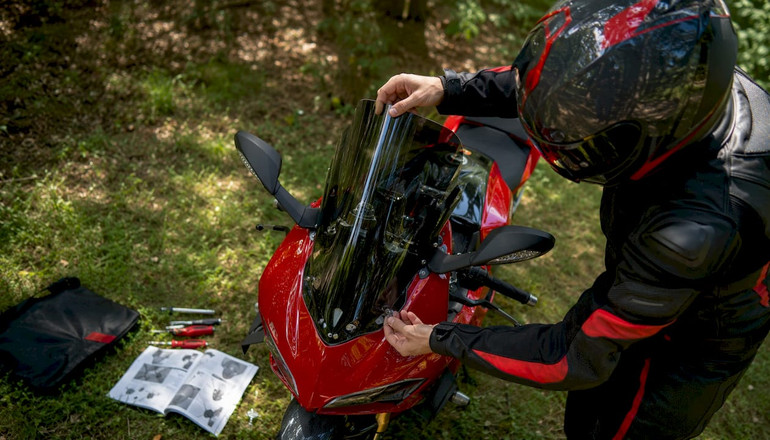
Sportbike Wind Protection Options: Your Practical Guide
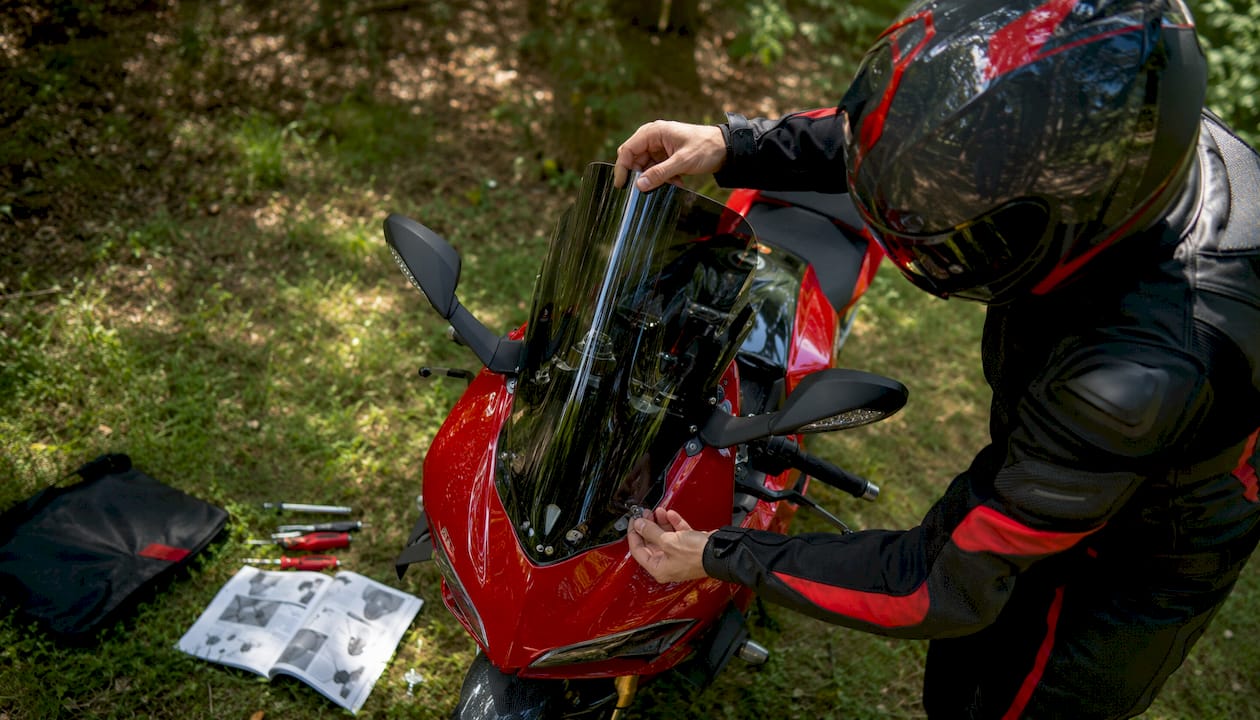
For most sportbike riders, the single most effective fix for wind blast and buffeting is a correctly fitted aftermarket windscreen — taller than stock, with a curved or recurved top edge — combined with a helmet upgrade and a small riding-position tweak. That trio covers most of the misery most riders deal with on the highway. Here’s the quick-hit breakdown before we get into the good stuff:
Immediate low-cost fixes (under $50):
- Add a small top-edge spoiler or wind deflector to your existing screen
- Adjust your riding position (tuck deeper, or raise bars slightly)
- Swap to a helmet with a built-in aerodynamic spoiler
Best mid-cost upgrade ($100–$350):
- Aftermarket look-through or sport-touring windscreen with a recurved top edge
When to consider bigger changes:
- Fairing extensions or adjustable bracket systems (MadStad-style) if you’re touring regularly and still fighting buffeting after a screen swap
TL;DR on trade-offs: More protection means more drag and more maintenance (cleaning, glare). A look-through screen gives the best highway comfort but demands a clean, clear surface to stay safe. A look-over screen is lower maintenance but leaves your helmet in the wind at speed.
Table of Contents
- How do sportbike windscreens actually work?
- What are your real sportbike wind protection options?
- How do you measure and fit the right screen?
- Can riding position changes fix buffeting without new hardware?
- Which helmet and gear upgrades actually reduce wind fatigue?
- What are the real installation and maintenance trade-offs?
- How do you choose the right wind protection for your riding style?
- How Dmgmotorsports helps you pick and fit wind protection
- Key Takeaways
- The wind protection trade-off nobody talks about honestly
- Ready to find the right screen and stop fighting the wind?
- Useful sources and further reading
How do sportbike windscreens actually work?
Here’s the thing most riders get wrong: a sportbike windscreen is not a shield. It’s a wind-shaper. It doesn’t stop the air; it redirects it, and where it redirects it is everything.
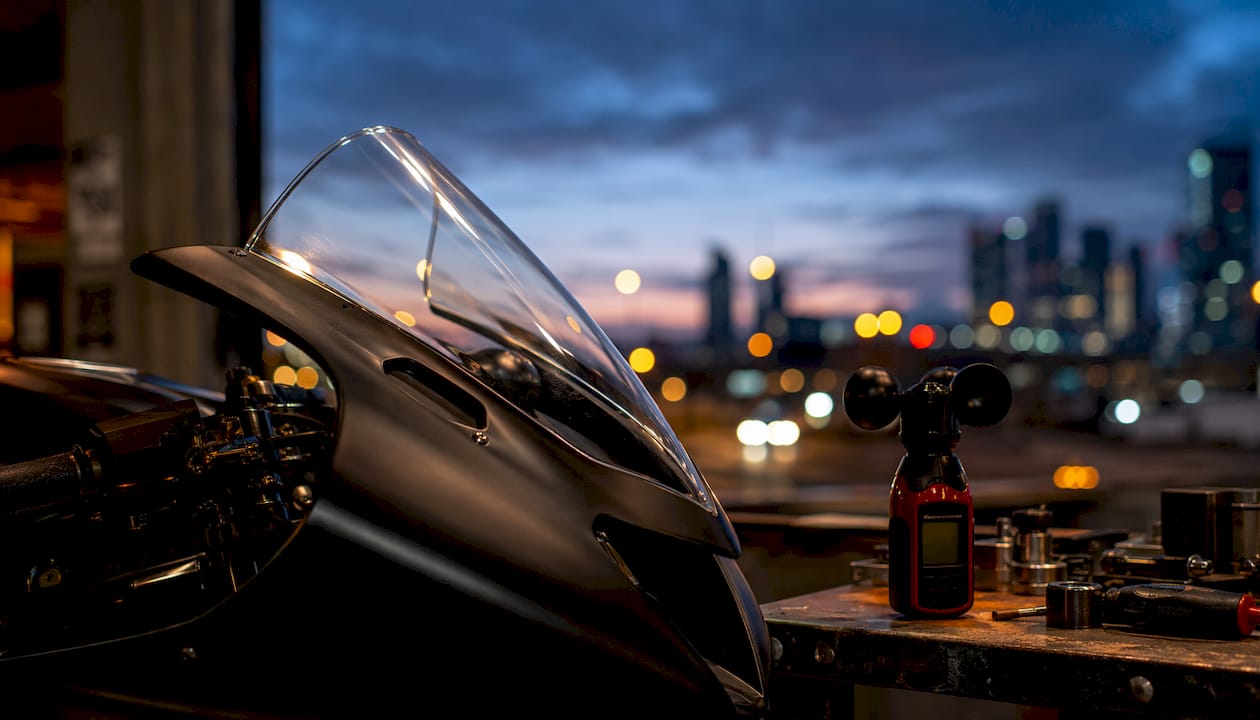
Sport screens are typically raked back around 70° from vertical, which is great when you’re tucked in at speed. In that position, the screen creates a low-pressure bubble that flows cleanly over your helmet. Sit up straight at 75 mph, though, and that same screen projects turbulent air right at your face. That’s not a defect; it’s a design choice baked into the sportbike geometry.
Windscreen angle (rake), height, width, and top-edge profile all interact. A more vertical screen projects air higher and creates a taller still-air zone, but it also increases drag. Wider screens and curved top edges reduce turbulence and helmet vibration compared to narrow screens with sharp, straight edges. Width matters more than most riders expect: side notches and channels can capture and redirect airflow that would otherwise wrap around the screen and create turbulent eddies near your shoulders.
There are actually two distinct “comfort zones” for windscreen height. The low zone lets clean, laminar air pass completely over your helmet — you’re in the wind, but it’s smooth and predictable. The tall zone creates a still-air bubble behind the screen that your helmet sits inside. The danger zone is the middle: a compromise height that sends turbulent, chaotic air directly at your helmet. That’s where most buffeting lives. Manufacturers increasingly use 3-D scanning and wind-tunnel development to find those zones and design screens that hit one or the other cleanly.
Fairings and winglets add another layer. They influence downforce and stability at high speed and reduce rider fatigue during sustained runs, but they’re a bigger investment and a frame-mounted commitment.
What are your real sportbike wind protection options?
Let’s run through every realistic option from cheapest to most involved, so you can match the fix to your budget and riding style.
Top-edge spoilers and deflectors
The cheapest upgrade that actually works. A small spoiler (roughly 1 inch) attached to the top edge of your existing screen creates a controlled separation point for airflow. Small spoilers and recurve tops significantly reduce buffeting, and in many cases they eliminate head bobble entirely. The mechanism feels counterintuitive: you’re deliberately creating a small, predictable vortex that prevents larger, chaotic ones from forming. Side deflectors work similarly, redirecting air that wraps around the screen’s edges and hammers your shoulders.
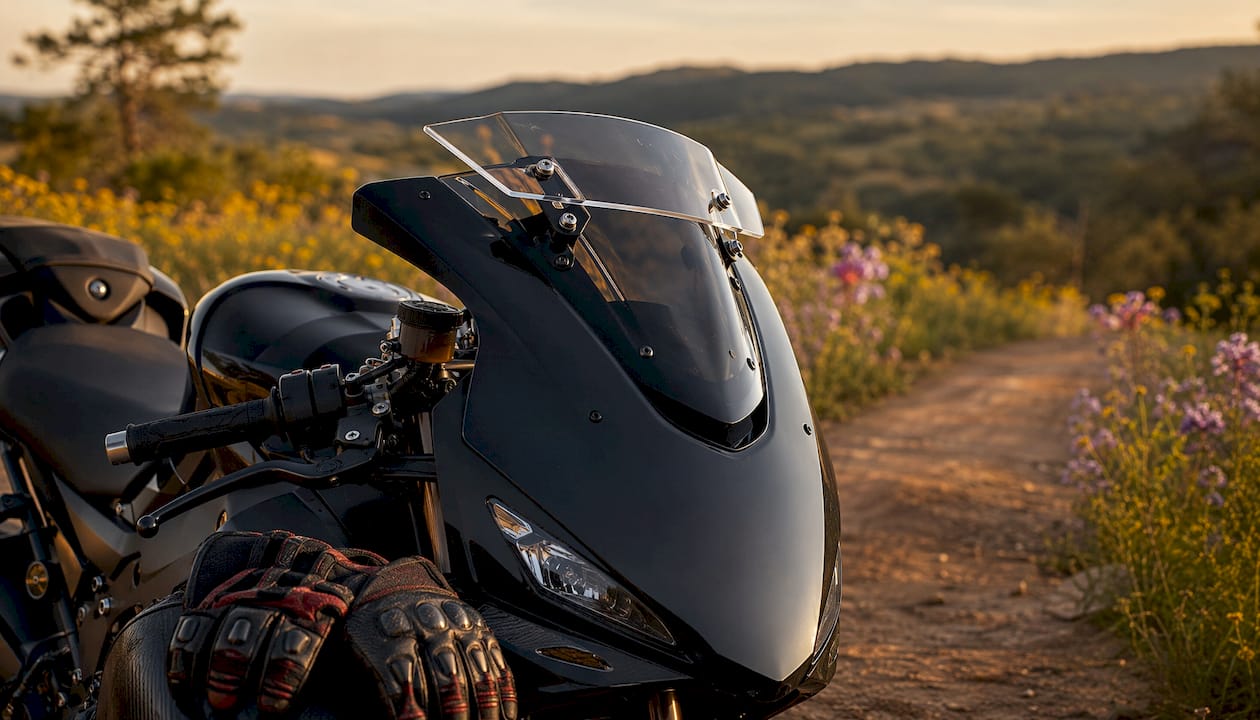
Quality matters here. Flexible, cheap deflectors flutter at highway speed and make things worse. Stick with rigid acrylic or polycarbonate units that hold their shape.
Aftermarket sport and sport-touring screens
This is the sweet spot for most sportbike riders. A taller aftermarket screen in the sport-touring category gives you more protection in the upright position without turning your bike into a sail. Brands like Zero Gravity Racing offer multiple series: the Sport Touring Series is designed specifically to reduce wind blast in the upright position, while the Corsa Series adds a taller bubble for larger riders who want protection even when tucked. The Double Bubble design uses a stepped profile to add aerodynamic height without dramatically increasing overall screen size.
Some aftermarket screens use engineered airflow channels. Puig’s Z-Racing screens, for example, use Z-channel geometry to redirect airflow and deliver measurable comfort gains over stock screens. These are pre-drilled to OEM specs on most fitments, so installation is usually a straightforward swap.
Pro Tip: Before buying any aftermarket screen, check whether it’s a “look over” or “look through” design for your height. The wrong choice for your inseam and riding position can make buffeting worse, not better.
Look-through vs. look-over screens
Look-through screens give maximum protection but require a clean, clear surface to stay safe. Glare and smearing are real visibility hazards, especially in rain or at dawn. Look-over screens sit lower, let you see the road unobstructed, and are much easier to maintain — but they leave your helmet in the airstream at highway speeds. For commuting and mixed riding, look-over is often the smarter call. For long-distance touring on a sportbike, look-through wins on comfort.
Adjustable bracket systems
If you’re fighting buffeting across multiple riding positions or speeds, an adjustable bracket system (the MadStad system is the most well-known example) lets you tilt your existing screen toward or away from the rider. This closes the gap between screen and helmet, stabilizes the airflow, and lets you dial in the angle for your specific height and riding style. It’s a particularly smart fix for taller riders whose helmets sit above the screen’s designed protection zone.
Fairing extensions
Quarter and half fairings add meaningful shoulder and torso protection, especially at highway speeds. They’re frame-mounted, which means installation is more involved, and you’ll want to confirm that your handlebars have clearance to turn without hitting the fairing. The payoff is real: fairings reduce rider fatigue during sustained high-speed runs and add a layer of debris protection that a windscreen alone can’t match.
Vented screens
On very tall screens, a “vacuum” effect behind the screen can actually create its own buffeting problem. Small vents near the bottom of the screen equalize pressure and smooth out the air pocket. Vent placement matters: 6–8 inches from the bottom edge, spaced 4–6 inches apart, with diameters of 1/4 to 3/8 inch. Too many vents, or vents placed too high, just let wind blast through.
How do you measure and fit the right screen?
Getting the size right before you buy saves you a return shipping headache and a week of frustration. Two measurements do most of the work.
Height: For a look-through screen, the top edge should sit 3–4 inches above your helmet when you’re in your normal riding position. For a look-over screen, the top edge should land somewhere between your nose and eyes. Sit on your bike in your usual gear, have someone hold a tape measure, and check both positions.
Width: The screen should extend at least 2–3 inches beyond your shoulders on each side. A screen that’s too narrow lets turbulent air wrap around the sides and hit your neck and shoulders, which is one of the most common causes of buffeting on stock sportbike screens.
| Measurement | Look-over screen | Look-through screen |
|---|---|---|
| Top edge height | Nose to eye level | 3–4 inches above helmet |
| Width per side | At least shoulder-width | 2–3 inches beyond shoulders |
| Rake angle | Match OEM or slightly more vertical | Slightly more vertical for upright comfort |
| Material | Acrylic or polycarbonate | Polycarbonate preferred (shatter-resistant) |
Common fit mistakes: buying by bike model alone without accounting for your height, choosing a screen that hits the middle comfort zone (neither low nor tall), and ignoring width in favor of height. A screen that’s 2 inches taller but the same width as stock often makes buffeting worse.
Pro Tip: Reverse flips — small curvatures along the top rim of a screen — can effectively increase the screen’s perceived height without adding bulk. If you’re borderline between two sizes, a screen with a reverse flip top edge often outperforms the taller flat-edge option.
Can riding position changes fix buffeting without new hardware?
Yes, and often faster than a screen swap. Small position changes can move your helmet out of the turbulent zone without spending a dollar on parts.
The most underrated fix: lowering your seat height by 1–2 inches can drop your helmet below the turbulent boundary layer that forms above a sport screen. No screen change, no bracket, no deflector — just a seat swap or pad trim. Conversely, raising your handlebars slightly creates a more upright position that lifts your helmet into the clean air above the turbulence zone. Neither adjustment is dramatic, but both can completely change how a screen performs for your specific body.
Tuck technique matters too. On a sportbike, a proper tuck puts your helmet in the low laminar-flow zone where the screen was designed to work. If you’re riding semi-upright at highway speeds on a sport screen raked at 70°, you’re essentially asking the screen to do something it wasn’t built for.
One safety note worth taking seriously: never adjust footpeg or handlebar position in a way that compromises your ability to brake, steer, or react quickly. Test any position change in a parking lot before taking it to the highway. Comfort is the goal, but control is non-negotiable.
Which helmet and gear upgrades actually reduce wind fatigue?
Your helmet is often the highest-impact single change you can make for buffeting, and it doesn’t require touching your bike at all.
Helmets with pronounced external spoilers, aggressive venting ports, or protruding features catch turbulent air and amplify buffeting. A helmet with a smooth, aerodynamic shell and an integrated rear spoiler tends to sit much more quietly in the airstream. Fit matters too: a helmet that’s even slightly loose will rock and rattle in turbulent air, turning mild buffeting into a headache-inducing experience. Check out helmet options for every riding level to find one that matches both your head shape and your riding style.
Gear that helps beyond the helmet:
- Neck rolls and balaclavas: Close the gap between your helmet and jacket collar, which is a major entry point for wind noise and cold air.
- Aerodynamic jackets: A jacket with a close fit and minimal external pockets reduces the “sail” effect at speed. Jacket material choices affect both wind resistance and comfort across seasons.
- Windproof base layers: On cold or wet days, a windproof layer under your jacket dramatically reduces perceived wind chill, which is a different problem from buffeting but equally exhausting on long rides.
Rough cost ranges: a quality aerodynamic full-face helmet runs $200–$600. Neck rolls and balaclavas are $15–$50. A well-fitted aerodynamic jacket starts around $150 and goes up from there. None of these require installation, which makes them the easiest wins on the list.
What are the real installation and maintenance trade-offs?
Installation complexity and ongoing maintenance are the costs most riders forget to factor in when shopping for wind protection upgrades. A screen that’s $80 cheaper than the competition but requires two hours of fairing removal to install isn’t actually the bargain it looks like.
Compatibility checklist before you buy:
- Confirm the screen is pre-drilled for your specific year, make, and model (or that a universal mount kit is included)
- Check that mounting brackets don’t conflict with your OEM fairing tabs
- For adjustable bracket systems, verify handlebar clearance
- If you’re buying a look-through screen, confirm it meets DOT visibility requirements — a windscreen should provide sufficient light transmission for the area 15 inches above the lowest part of the seat; very dark tints are not street-legal as primary look-through screens.
Maintenance and visibility trade-offs:
Look-through screens need regular cleaning to stay safe. A smeared or scratched screen at dawn or dusk creates glare that’s genuinely dangerous. Polycarbonate screens are more shatter-resistant than acrylic but are more prone to UV yellowing over time. Acrylic scratches can often be buffed out; polycarbonate scratches are harder to fix. Vibration and resonance are worth checking after installation: a screen that’s not properly seated against its mounting grommets will buzz at certain RPMs and drive you crazy.
Pro Tip: Use a dedicated plastic polish (Plexus is a popular choice among riders) rather than glass cleaner on acrylic or polycarbonate screens. Glass cleaner can cause micro-crazing that permanently clouds the surface.
Professional fitment makes sense when you’re dealing with full fairing integration, frame-mounted fairings, or adjustable bracket systems that require precise angle calibration. For a straight screen swap on a pre-drilled fitment, most riders with basic tools can handle it in under 30 minutes.
How do you choose the right wind protection for your riding style?
Start with one question: what’s your primary riding context? The answer narrows the field fast.
Quick decision rule: Commute/city riding → look-over sport screen or deflectors. Highway/sport-touring → look-through screen with recurved top edge plus helmet upgrade. Track days → low-profile OEM or Marc1-style screen optimized for tucked aerodynamics.
Checklist questions to ask before buying:
- What’s your typical speed range? (Under 60 mph vs. sustained highway speeds changes everything.)
- How tall are you, and where does your helmet sit relative to the stock screen?
- Do you ride primarily tucked or upright?
- How much maintenance are you willing to do? (Look-through screens need more.)
- Is drag a concern? (Taller, more vertical screens add drag — relevant for track use.)
- What’s your budget for installation as well as the screen itself?
| Option category | Best for | Protection level | Drag/handling effect | Visibility/maintenance | Cost/installation |
|---|---|---|---|---|---|
| Top-edge spoiler/deflector | Commute, quick fix | Head/neck only | Minimal | No change | Under $50, DIY |
| Look-over sport screen | Commute, mixed riding | Head and upper torso | Low | Easy, no glare issue | $80–$200, easy swap |
| Look-through sport-touring screen | Highway, long rides | Head, torso, shoulders | Moderate | Requires regular cleaning | $150–$350, easy swap |
| Adjustable bracket system | Touring, tall riders | Head, torso | Low to moderate | Depends on screen | $100–$350, moderate |
| Fairing extensions | Highway, touring | Shoulders, torso, legs | Higher | Low maintenance | $200+, complex |
| Helmet/gear upgrade | All riding types | Head and neck | None | Easy | $200–$600 |
OEM screens are designed to balance style, cost, and broad fitment across a range of rider heights. They’re rarely optimized for any specific rider. Aftermarket screens, particularly from brands that use wind-tunnel development and 3-D scanning in their design process, can deliver meaningfully better comfort for your height and riding position. The gap between a well-chosen aftermarket screen and a stock screen is often larger than riders expect.
How Dmgmotorsports helps you pick and fit wind protection
Dmgmotorsports stocks a wide range of windshield types and styles across sport, sport-touring, and look-through categories, with fitment guides organized by year, make, and model so you’re not guessing at compatibility. The catalog covers screens, deflectors, adjustable bracket systems, and fairing accessories from brands that use real engineering (not just marketing copy) to back their designs.
Beyond the parts themselves, Dmgmotorsports offers expert support for riders who aren’t sure which option fits their bike and body. Whether you’re a commuter who wants a quick deflector fix or a touring rider ready to invest in a full screen upgrade with adjustable brackets, the team can walk you through the measurement process, flag any compatibility issues before you order, and point you toward the right fitment for your riding style.
The rider-first approach extends to installation guidance, returns support, and access to a broader ecosystem of gear — helmets, jackets, and windproof layers — that work together with your screen choice to reduce fatigue across every ride. For riders who want to think about seasonal riding conditions alongside their wind protection setup, there’s guidance there too.
Key Takeaways
The most effective sportbike wind protection combines a correctly fitted aftermarket screen, a well-matched helmet, and a small riding-position adjustment — no single fix does it all.
| Point | Details |
|---|---|
| Screen height and width both matter | Top edge should sit 3–4 inches above your helmet (look-through) or nose-to-eye level (look-over); width should extend 2–3 inches beyond your shoulders. |
| Avoid the middle comfort zone | A screen that’s neither low nor tall enough creates the worst buffeting; pick one zone and fit to it deliberately. |
| Small spoilers deliver outsized results | A 1-inch top-edge spoiler can eliminate head bobble on many setups without replacing the screen. |
| Helmet choice is a high-impact, no-install fix | An aerodynamic helmet with a smooth shell and integrated spoiler often reduces buffeting more than a screen swap alone. |
| Dmgmotorsports fitment support | Dmgmotorsports offers model-specific fitment guides, expert advice, and a full catalog of screens, deflectors, and gear to match your riding style. |
The wind protection trade-off nobody talks about honestly
Wind protection on a sportbike is always a negotiation, and the riders who end up happiest are the ones who accept that upfront instead of chasing the perfect setup forever.
The conventional wisdom says “get a taller screen.” That’s true, but it skips the part where a taller screen in the wrong position creates worse buffeting than the stock screen it replaced. The middle comfort zone is real, and it’s where a lot of well-intentioned upgrades land. The smarter move is to measure your specific riding position first, then buy a screen that puts you clearly in one zone or the other.
What tends to get overlooked is how much the helmet contributes. Riders spend $300 on a new screen and keep the same helmet they’ve had for four years, then wonder why they’re still getting head rattle. A helmet with a smooth aerodynamic profile and a proper fit can do more for perceived wind comfort than almost any screen upgrade. Pair that with a neck roll and a windproof base layer, and you’ve addressed three different entry points for wind fatigue without touching your bike.
The track-vs-street tension is worth naming too. A low-profile sport screen optimized for tucked aerodynamics looks great and works brilliantly at speed in a tuck. It’s a miserable commuter screen. If you ride your sportbike to work three days a week and hit the track on weekends, you may genuinely need two screens, or you need to decide which use case wins. That’s not a failure of the product; it’s just the physics of a bike designed for one thing being asked to do another.
Ready to find the right screen and stop fighting the wind?
Tired of arriving at your destination feeling like you went three rounds with a leaf blower? Dmgmotorsports has the screens, deflectors, and fitment expertise to put an end to that.
At Dmgmotorsports, you’ll find model-specific windscreens, adjustable bracket systems, top-edge spoilers, and the full gear lineup — helmets, jackets, neck rolls — that work together to cut wind fatigue from every angle. The fitment guides are organized by year, make, and model, so you can confirm compatibility before you click “add to cart.” Not sure which screen height works for your body and riding position? The support team is there to walk you through the measurement process and flag any compatibility issues specific to your bike. Browse the catalog, get your measurements dialed in, and place your order today.
Useful sources and further reading
For riders who want to dig deeper into the evidence and product specs behind this guide:
- How to Stop Motorcycle Windshield Buffeting (The “Head Bobble” Fix) — Revv Rider — the most thorough field-tested breakdown of buffeting causes and fixes available online
- How to Choose the Right Windscreen for Your Motorcycle — Motorcycle.com — practical buyer’s guide covering size, shape, material, and look-over vs. look-through trade-offs
- How Motorcycle Windshields and Fairings Impact Riding Performance — Motorcycle Powersports News — industry expert commentary on design, venting, and material choices from manufacturers
- Zero Gravity Windscreens Series Information — Zero Gravity Racing — manufacturer technical breakdown of Sport Touring, Corsa, Marc1, and Double Bubble series
- Motorcycle Aerodynamics Explained — Bikerz — accessible explanation of how fairings, winglets, and aerodynamic design affect stability and fatigue
- Wind Fatigue: Naked vs. Sport vs. Super Sport — FZ09.org — real rider discussion comparing wind fatigue across bike categories
- Types of Motorcycle Windshields: Your Full Rider’s Guide — Dmgmotorsports — in-depth guide to windshield types, shapes, and materials for every riding style
Before purchasing: always verify that your chosen screen meets DOT visibility requirements for street use, and check the manufacturer’s fitment guide for your specific year and model. When in doubt, contact the manufacturer or a fitment specialist before ordering.
Recommended
- Types of Motorcycle Windshields: Your Full Rider’s Guide - DMG Motorsports
- Staying Safe and Stylish on the Track: The Importance of Proper Motorcycle Gear - DMG Motorsports
- How to Choose Motorcycle Jacket Material for Riders - DMG Motorsports
- Helmet Ventilation Systems: What Every Rider Must Know - DMG Motorsports