

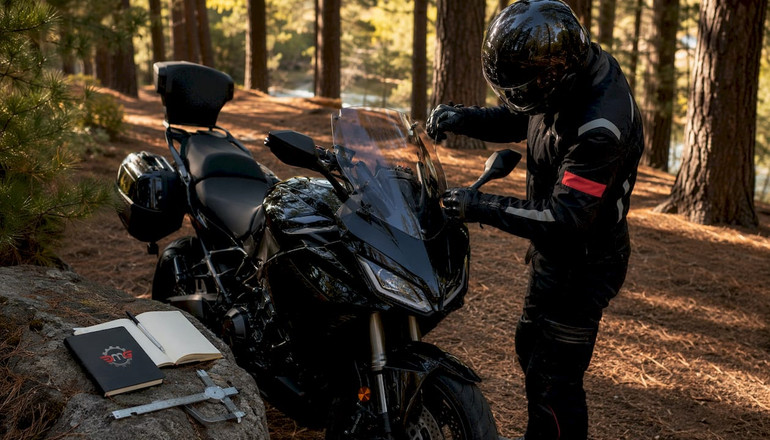
Motorcycle Windshield Aerodynamics: What Riders Need to Know
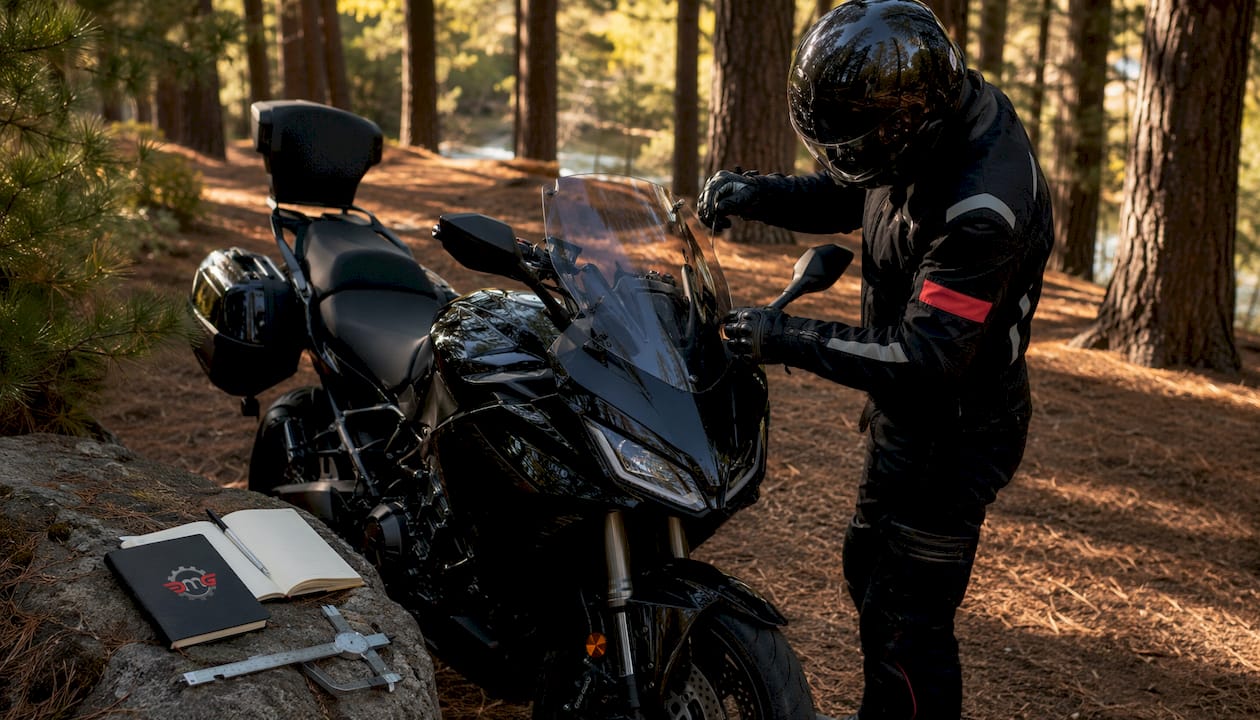
A motorcycle windshield’s primary job is managing airflow around you to reduce buffeting, improve high-speed stability, and keep fatigue from eating your ride alive. Get the aerodynamics right and you arrive fresher, faster, and with less neck strain. Get them wrong and your helmet turns into a punching bag at 70 mph.
Here’s the bottom line before we get into the physics:
- Buffeting and wind noise drop significantly when a shield redirects turbulent wake away from your helmet
- Rider fatigue decreases because managed airflow lowers constant wind pressure on your torso and head
- Drag changes with every shield shape, affecting engine load and fuel consumption at steady highway speeds
- High-speed stability improves when pressure distribution across the bike-plus-rider system becomes more predictable
- Helmet interaction is the single most important fitment variable — the wrong height or angle sends turbulent wake straight into your visor
Research from SAE International and CFD studies using tools like ANSYS Fluent consistently show that windshield geometry, not just size, determines whether a shield helps or hurts. Dmgmotorsports has built its windshield selection and fitment guidance around exactly these principles.
Table of Contents
- How does motorcycle windshield aerodynamics actually change airflow?
- What do aerodynamic changes mean for your speed, stability, and comfort?
- Which windshield design features actually control airflow?
- Why fitment often matters more than windshield size
- How do manufacturers and researchers test windshield aerodynamics?
- How do you choose the right windshield for your riding style?
- How do you fix buffeting, vibration, and other aerodynamic problems?
- Research-backed recommendations from Dmgmotorsports
- Key Takeaways
- A technician’s honest take on windshield aerodynamics
- Useful sources and further reading
How does motorcycle windshield aerodynamics actually change airflow?
Before you can pick the right shield, you need a mental picture of what air is actually doing around you at speed. Think of your bike-plus-body as a blunt object punching through a fluid. Here are the core concepts, stripped of the textbook:
- Pressure zone (stagnation zone): High-pressure air piles up on the front of the shield and your chest. That’s the force you feel pushing you back.
- Wake: The low-pressure region trailing behind you and the bike. Turbulent wake is where buffeting is born.
- Flow separation: When airflow can’t follow a surface anymore and peels away, creating chaotic eddies.
- Vortex shedding: Periodic swirling structures shed from edges (top of the shield, helmet rim) that create rhythmic pressure pulses — the “thump-thump” you feel at certain speeds.
- Boundary layer: The thin layer of air clinging to surfaces. Disrupting it increases drag and turbulence.
- Buffeting: The combined result of turbulent wake and vortex shedding colliding with your helmet and upper body.
Your body is the biggest drag source on the whole system. Designers consistently stress that the rider’s body dominates the aerodynamic drag of the motorcycle-and-rider combination, which is why matching shield geometry to your specific height and seating position matters more than picking the tallest option on the shelf.
A windshield creates a pocket of calmer air in front of you by redirecting the oncoming flow upward and around your body. The tricky part is the top edge. When airflow separates off the shield’s lip, it sheds a turbulent wake that can land directly on your helmet. CFD research on sport motorcycles confirms that streamlines detaching at the windscreen edge create a high-pressure stagnation zone on the helmet and a recirculation area between the rider and fairing — both of which increase drag and perceived buffeting.
Pro Tip: Small changes to top-edge geometry — a slight rearward curl, a lip radius, or a vent — alter where the wake sheds far more than adding two inches of height. If you’re chasing buffeting, look at the top edge first, not the overall shield size.
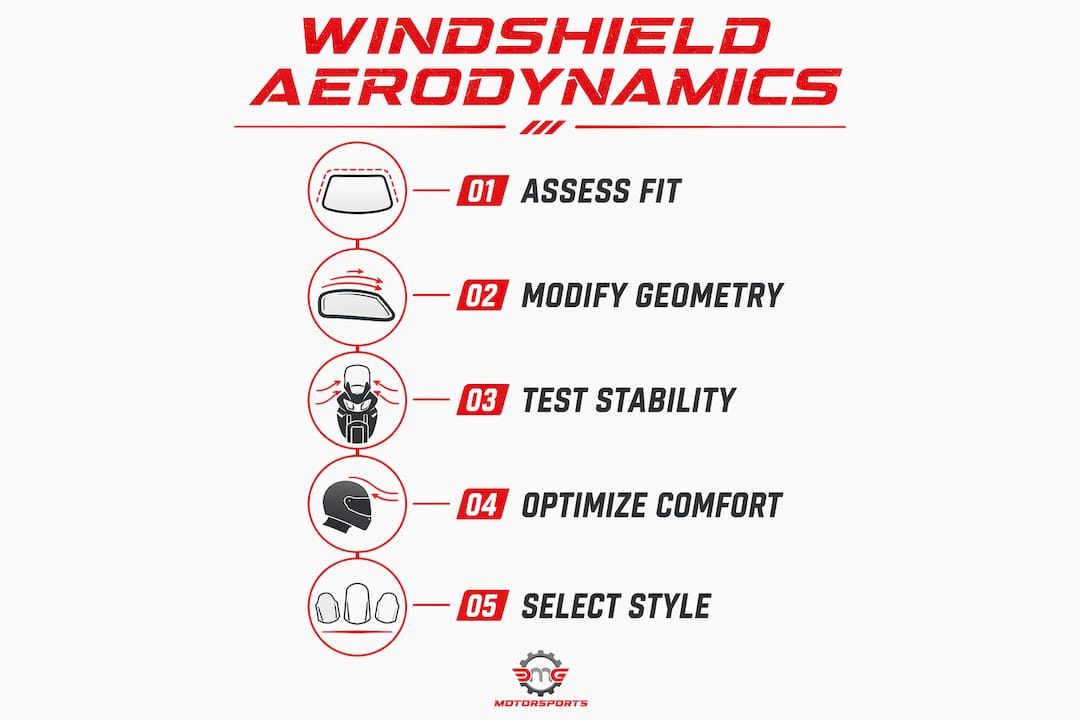
What do aerodynamic changes mean for your speed, stability, and comfort?
Here’s where the physics turns into something you actually feel on the bike. The role of motorcycle windshield aerodynamics shows up in four rider-facing ways: drag, stability, fatigue, and fuel load.
Drag and frontal area are the obvious trade-off. A taller, flatter shield blocks more air, which raises drag and makes your engine work harder at highway speeds. A shorter, raked shield cuts drag but leaves your torso and helmet exposed to direct airflow. Neither extreme is universally right. Smoothing airflow around the rider can actually lower engine load at steady speeds, but only when the shield geometry is well-matched to the bike and rider.
Stability at speed is where a good shield earns its keep. Wind-tunnel experiments using particle image velocimetry (PIV) and force-balance testing found that full-size windshields produce a more uniform wake and reduced velocity fluctuations, improving stability even when drag increases modestly. That uniform wake means less random lateral force on your bars, which translates to a calmer, more confidence-inspiring feel at 75 mph.
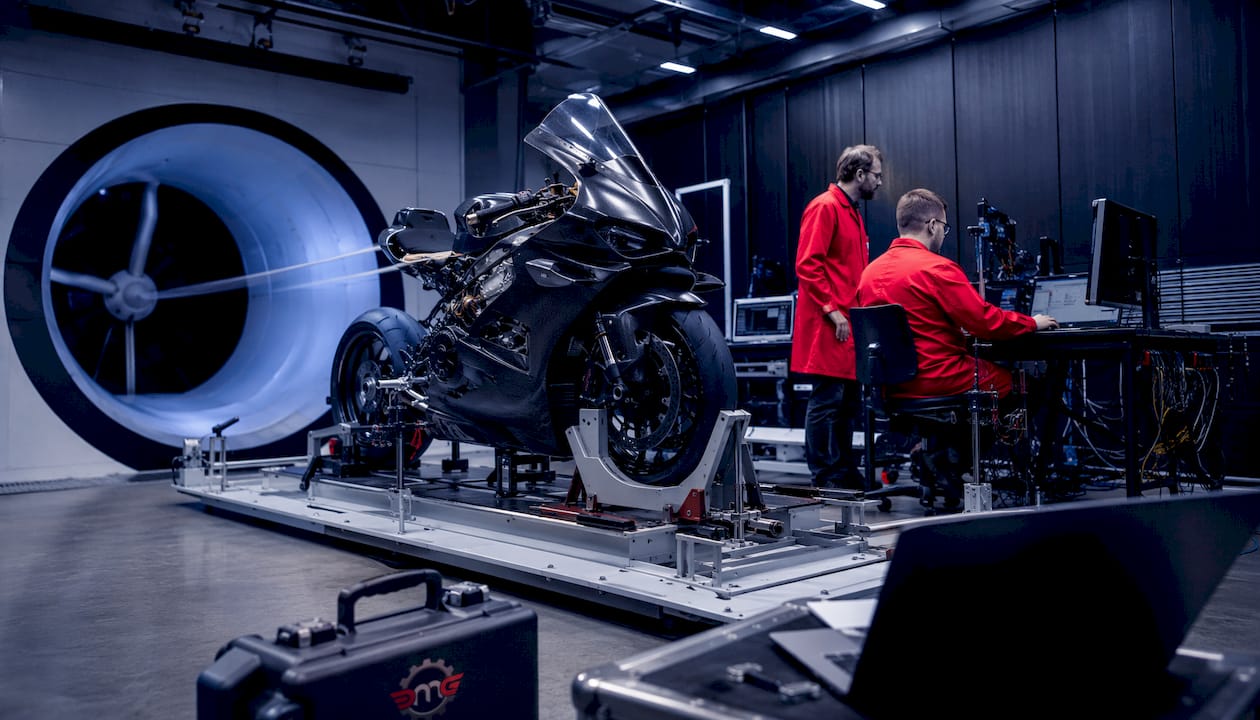
Rider fatigue is the most underrated benefit. Wind noise and sustained wind pressure are physically exhausting over a long ride. A shield that creates a calmer air pocket around your torso and helmet reduces the constant muscular effort of fighting the wind. Your neck, shoulders, and arms thank you by mile 200.
Fuel and engine load shift with drag. A well-shaped shield that reduces the combined drag of the bike-plus-rider can ease the engine’s workload at cruising speeds. The effect is real, though it varies by design, speed, and rider posture.
Key effects at a glance:
- Reduced direct wind pressure on torso and helmet
- Lower turbulence in the wake behind the rider
- More predictable steering feel at highway speeds
- Less neck and arm strain on long hauls
- Potential reduction in engine load at steady cruise
Which windshield design features actually control airflow?
Not all shields are created equal, and the geometry details are where the real aerodynamic magic (or misery) happens. Here’s what each feature does:
- Rear-swept geometry: Angles the shield back toward the rider, which reduces frontal area and helps airflow attach longer before separating. Less abrupt separation means a cleaner wake.
- Reverse-flip / top-edge curvature: A rearward curl at the top lip redirects the separating airflow higher and farther back, pushing the turbulent wake above and behind the helmet. This is why some shorter shields protect as well as taller flat ones.
- Vents: Openings that allow high-pressure air from the front face to bleed through to the low-pressure zone behind the shield. This equalizes pressure, reduces the vacuum that pulls turbulent air back toward the rider, and can drop drag noticeably at speed.
- Compound curves: Multi-axis curvature wraps airflow around the sides of the rider, reducing lateral pressure and side-wind sensitivity.
- Edge treatment / lip radius: A smooth, rounded top edge sheds the boundary layer more predictably than a sharp cut edge, reducing chaotic vortex shedding.
- Thickness and stiffness: A shield that flexes at speed changes its angle and shape dynamically, altering airflow in unpredictable ways. Stiffer materials hold their geometry.
A tall, flat, vertical shield increases frontal area and drag while often producing a chaotic wake that dumps turbulence right onto the helmet. A rear-swept or reverse-flip design can redirect airflow higher without the same drag penalty, making some shorter shields perform better for rider protection than their height suggests. Aerodynamicists recommend designs that create predictable flow and incorporate vents or edge geometry to shed wake away from the helmet rather than simply blocking all air.
OEM shields are typically optimized for aerodynamic efficiency on the specific bike they’re designed for. Many aftermarket options prioritize deflecting airflow away from the rider at the cost of slightly higher drag — a deliberate trade-off for comfort. A CFD study on several windshields for a Honda CB500X confirmed exactly this: the OEM shield had a lower drag coefficient, while aftermarket shields reduced direct pressure on the rider but increased overall drag.
The practical goal of a windshield is predictable flow, not zero airflow. Vents and specialized top edges are designed to shed wake away from the helmet — not to block all air. A shield that tries to stop everything often creates more turbulence than one that manages the flow intelligently.
Pro Tip: Vents work brilliantly when the main problem is a vacuum forming behind the shield that sucks turbulent air back toward your helmet. But if your buffeting comes from the top-edge wake hitting your helmet directly, a vent alone won’t fix it — you need a geometry change at the lip.
Why fitment often matters more than windshield size
You can have the most aerodynamically sophisticated shield on the market and still get hammered by buffeting if it’s the wrong height for your body. Rider height and seating position determine where the turbulent wake from the shield’s top edge lands — and that’s the whole ballgame.
Fitment checklist before you buy:
- Rider height and inseam (affects eye level relative to shield top)
- Seating position (upright cruiser vs. forward-leaning sport vs. adventure)
- Helmet rim and visor position (where the visor sits relative to the shield top edge)
- Handlebar reach (affects how far forward you lean, changing your head position)
- Passenger presence (adds weight and changes the bike’s pitch angle slightly)
On-road test, step by step:
- Mount the shield at the manufacturer’s recommended height and angle.
- Sit in your normal riding position and check the mirror: your eyes should be just above or at the shield’s top edge for touring shields, or below it for sport applications.
- Ride at moderate speed and note any vibration or pressure on the helmet.
- Increase to highway speed and pay attention to buffeting frequency and helmet noise.
- Try adjusting height by one increment (if adjustable) and repeat.
- Note whether buffeting gets better or worse — sometimes going lower fixes it by moving the wake above the helmet.
Common mismatches are easy to predict once you know the pattern. A tall rider on a short shield gets the turbulent wake right in the helmet face. A short rider behind a very tall flat shield gets the wind hitting their torso below the shield’s protection zone, and the shield’s wake dumps onto the top of their helmet from above. Quick fixes include adjustable mounts, small top-edge spoilers, or a shield swap to a rear-swept profile. For more on how rider posture interacts with wind protection, the motorcycle ergonomics guide at Dmgmotorsports covers seating position in detail.
Pro Tip: In the parking lot, sit on your bike in full gear and have someone hold a straight edge horizontally from your helmet’s chin bar toward the shield. If that line intersects the shield’s top third, you’re in the buffeting zone. If it clears the top edge by 2–3 inches, you’re likely in good shape. No highway testing required for the initial check.
How do manufacturers and researchers test windshield aerodynamics?
You’ve seen brands throw around words like “aerodynamically tested” without much detail. Here’s what credible testing actually looks like and what it tells you.
Common testing methods:
- Wind tunnel force-balance testing: Measures actual drag and lift forces on the bike-plus-rider at controlled speeds. Gives you real Cd (drag coefficient) and CdA (drag area) numbers.
- CFD simulation (e.g., ANSYS Fluent, OpenFOAM): Computational fluid dynamics models the airflow field around the bike digitally. Fast and cheap to iterate, but accuracy depends heavily on boundary conditions, turbulence model choice, and how accurately the rider geometry is modeled.
- Particle image velocimetry (PIV): Uses laser-illuminated particles in a wind tunnel to visualize actual flow structures and wake patterns. Excellent for identifying where vortices form and where the wake lands on the rider.
- Pressure mapping: Sensors on the rider’s suit or helmet measure actual pressure distribution during tunnel or road tests.
- Road testing with rider feedback: Real-world validation. Captures perception of buffeting, noise, and fatigue that instruments sometimes miss.
Each method has limits. CFD is powerful for comparing design iterations quickly, but a credible test must report the test speed, rider posture, and actual Cd or drag force values — not just qualitative claims. Wind tunnel tests are the gold standard for force measurement but can’t fully replicate crosswinds and road turbulence. On-bike testing captures what the rider actually experiences, which is ultimately what matters.
Manufacturers like OEM design teams use 3-D scanning of specific bikes, prototype fabrication, and structured road test programs to identify pressure zones and solve buffeting through shape and accessory placement. That’s a serious process — and it’s why OEM shields often outperform random aftermarket options on the specific bike they were designed for.
| Testing Method | What It Measures | Key Limitation |
|---|---|---|
| Wind tunnel force-balance | Drag force, lift, Cd/CdA | Cost; static rider posture |
| CFD simulation | Full flow field, pressure maps | Accuracy depends on turbulence model |
| PIV (particle image velocimetry) | Wake structure, vortex location | Requires specialized lab setup |
| Pressure mapping | Rider surface pressure distribution | Sensor placement affects results |
| Road testing | Rider perception, buffeting, noise | Difficult to control variables |
A slot-design study on a Ducati 1198SP windshield tested in a wind tunnel confirmed that geometric modifications like integrated slots can reduce drag coefficient and lift force simultaneously — proof that small design details, not just overall size, drive aerodynamic outcomes.
How do you choose the right windshield for your riding style?
The best windshield for a canyon carver is a disaster for a cross-country tourer. Here’s how to match the choice to how you actually ride.
By riding style:
- Commuting: Prioritize a mid-height shield with good side coverage and easy adjustability. Buffeting at city speeds is less of an issue; debris and weather protection matter more.
- Touring / long-distance: Go taller with a rear-swept or reverse-flip top edge and vents. Fatigue reduction over 500-mile days is worth the modest drag increase. Check the types of motorcycle windshields guide at Dmgmotorsports for touring-specific options.
- Sport / track: Short, heavily raked shields designed for a tucked riding position. You’re supposed to be behind the shield, not above it. If you’re upright on a sportbike, a taller aftermarket option may help.
- Adventure / dual-sport: Mid-to-tall shields with good adjustability for both highway and off-road postures. Durability and scratch resistance matter here too.
Questions to ask before buying:
- What test data backs the aerodynamic claims (Cd, test speed, rider posture)?
- What rider height range is this shield designed for?
- Is the mount adjustable for height and angle?
- What’s the return or exchange policy if fitment doesn’t work for my body?
Red flags in product descriptions:
- “Fits all riders” with no height guidance
- Aerodynamic claims with no test data or methodology
- Fixed-mount designs with no adjustment range
- Poor edge finishing (sharp cut edges increase vortex shedding)
A reasonable compromise that works for many riders: a slightly shorter rear-swept shield paired with a helmet neck roll or balaclava to handle residual wind at the collar. That combination often beats a very tall flat shield that creates more turbulence than it prevents.
How do you fix buffeting, vibration, and other aerodynamic problems?
Buffeting is annoying. It’s also fixable in most cases without buying a whole new shield. Work through this sequence before you give up:
- Document the symptoms. At what speed does buffeting start? Is it rhythmic (vortex shedding) or random (turbulent wake)? Does it change with head position? Knowing the pattern tells you where the problem originates.
- Adjust height first. If your shield is adjustable, move it up one increment and test at highway speed. Then try one increment down. Sometimes the fix is counterintuitive — a lower shield moves the wake above your helmet entirely.
- Adjust the angle (rake). Tilting the shield slightly more rearward can change where the top-edge wake separates and where it lands.
- Add a top-edge spoiler or wind deflector. Small bolt-on spoilers redirect the separating airflow higher, often solving helmet buffeting without a full shield swap.
- Try fork leg wind deflectors. Updrafts from the front forks can contribute to turbulence around the lower helmet. Small deflectors on the fork legs block that path.
- Test with a different helmet. Helmet shape affects how the wake interacts with your head. A rounder helmet may behave very differently from an angular one in the same airflow.
- Check seating position. Sliding forward or back on the seat changes your head position relative to the shield’s top edge. A small posture change sometimes eliminates buffeting entirely.
Hardware fixes worth trying: spacer shims to raise the shield incrementally, adjustable aftermarket mounts that allow both height and angle changes, and small top-edge lip extensions that curl the separating flow rearward. For sportbike-specific wind protection options, Dmgmotorsports has a dedicated sportbike wind protection guide that covers these accessories in detail.
If you’ve worked through all of the above and buffeting persists, the shield geometry is likely fundamentally mismatched to your bike and body. At that point, a different shield shape (rear-swept vs. flat, vented vs. solid) is the answer, not more incremental tweaking.
Pro Tip: Reproduce buffeting at low speed before highway testing. Have a passenger watch your helmet from behind at 40 mph in a parking lot or quiet road. If the helmet is visibly vibrating, you’ve confirmed the problem without the risk of distraction at 70 mph. Then test your fix at low speed first before committing to a highway run.
Research-backed recommendations from Dmgmotorsports
Three findings from wind-tunnel and CFD research consistently hold up across different bikes and rider types:
1. Fit the shield to your posture, not the other way around. The bike-plus-rider is the aerodynamic unit. Decisions about shield height and angle must prioritize how the shield manages airflow around your specific body, not just the bike’s frontal area.
2. Prefer rear-swept or curved top edges over tall flat designs. Small geometric details — top-edge curvature, lip radius, and vent sizing — change wake shedding characteristics more than a large increase in shield height. A shorter rear-swept shield often outperforms a taller flat one for helmet protection.
3. Use vents where a vacuum forms behind the shield. Vents equalize pressure between the front and rear faces of the shield, reducing the suction that pulls turbulent air back toward the rider. They’re particularly effective on touring shields at sustained highway speeds.
Aerodynamic engineers who work on motorcycle windshields consistently emphasize one principle: the goal is predictable, managed flow — not a wall that stops all air. Shields that try to block everything create chaotic wakes. Shields that guide airflow intelligently, using geometry and vents, deliver the comfort and stability riders actually feel on the road.
Dmgmotorsports carries windshields across all riding categories, with fitment guidance organized by bike make, model, and rider height. The Dmgmotorsports windshield guide is a solid starting point for matching shield type to your riding style before you dig into specific products.
Pro Tip: Before purchasing, run this quick checklist: measure your eye height above the seat, check the shield’s recommended rider height range, confirm the mount is adjustable, and verify the return policy. Those four steps eliminate most bad fitment purchases before they happen.
Key Takeaways
Windshield geometry and fitment to your specific body and riding position determine real-world aerodynamic performance more than shield height alone.
| Point | Details |
|---|---|
| Geometry beats height | Rear-swept and reverse-flip top edges redirect wake better than simply going taller. |
| Fitment is the priority | Match shield height and angle to your eye level, seating position, and helmet type before anything else. |
| Vents reduce vacuum buffeting | Vents equalize pressure behind the shield, cutting the suction that pulls turbulent air back toward the rider. |
| OEM vs. aftermarket trade-off | OEM shields typically have lower drag; many aftermarket shields prioritize rider comfort at the cost of slightly higher drag. |
| Test before committing | Adjustable mounts, low-speed reproduction of buffeting, and a clear return policy are your best tools for getting fitment right. |
A technician’s honest take on windshield aerodynamics
The most common mistake riders make is treating windshield shopping like a height contest. Taller feels like more protection, so they go tall, end up with a flat shield that dumps a turbulent wake right onto their helmet at 65 mph, and then blame the shield for being “bad.” The shield isn’t bad. It’s just mismatched.
What actually fixes buffeting in most cases isn’t a bigger shield. It’s a better-shaped one, mounted at the right height for that specific rider’s body. A rear-swept shield with a curved top lip, set so the rider’s eyes are just at or slightly above the top edge, consistently outperforms a taller flat shield for helmet comfort. Add a vent if there’s a vacuum problem behind the shield, and you’ve solved 80% of the buffeting complaints I see.
The other thing riders underestimate is how much helmet shape matters. Two riders on identical bikes with identical shields can have completely different buffeting experiences just because their helmets interact with the wake differently. If you’ve adjusted everything and still have a problem, try a different helmet before you buy a different shield.
The physics here aren’t complicated once you see them clearly. Air wants to flow around you in the smoothest path possible. Your job, and your windshield’s job, is to help it do that without creating chaos in the process.
Useful sources and further reading
These are the primary studies and guides that back the claims in this article, organized by evidence type:
- CFD and wind-tunnel research: Investigation of Different Windshield Designs for Aerodynamic Drag Force in Motorcycle — CFD comparison of OEM vs. aftermarket shields on a Honda CB500X; reports drag force and Cd values with rider posture described.
- CFD simulation methodology: Comprehensive CFD Aerodynamic Simulation of a Sport Motorcycle — detailed turbulence model comparison for motorcycle aerodynamics; covers helmet interaction, fairing effects, and rider position influence on drag.
- Wind-tunnel PIV and force-balance: Effect of windshield configuration and pilot position on motorcycle performances — experimental data on how shield size affects wake uniformity and stability.
- SAE simulation-driven development: Simulation-driven aerodynamic development: a high-performance motorcycle — SAE paper on using CFD to optimize windshield geometry for buffeting reduction and wake management.
- Slot design wind-tunnel study: A Study on Slot Design of Motorcycle Windshield to Improve Aerodynamics Features — wind-tunnel validation of slotted windshield designs on a Ducati 1198SP; shows drag and lift reductions from geometric modifications.
- Practical rider benefits: The 7 Proven Benefits of Motorcycle Windshields — rider-focused summary of fatigue, comfort, and protection benefits backed by practical testing.
- Fitment and design guidance: How Motorcycle Windshields and Fairings Impact Riding Performance — industry-level explanation of rider-body drag dominance and manufacturer design processes.
- Dmgmotorsports educational resource: Types of Motorcycle Windshields: Your Full Rider’s Guide — retailer guide covering shield types, fitment by riding style, and selection trade-offs.