

Motorcycle Club Luggage Coordination: A Rider-Ready Guide
Run through these six rules before any club ride and you will cut mid-ride stops, prevent handling surprises, and keep every knight of the asphalt jungle rolling in formation. That is motorcycle club luggage coordination explained in one sentence. Here is the full playbook.
Six core rules for every staging area:
- Heavy-Low-Forward. Dense items (tools, fuel, water) go in the bottom-front of saddlebags, never stacked high on a tail rack.
- Balance left/right. Each saddlebag should weigh within a pound or two of its partner. Eyeball it, then lift both sides.
- Standardize bag types. Club-wide agreement on soft vs. hard luggage cuts inspection time and makes officer checks predictable.
- Quick-access items up front. Rain shell, documents, and first-aid go in the tank bag or external pockets, never buried.
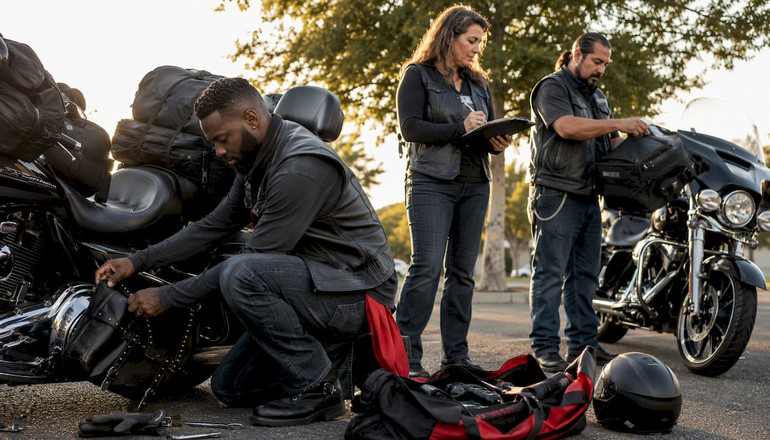
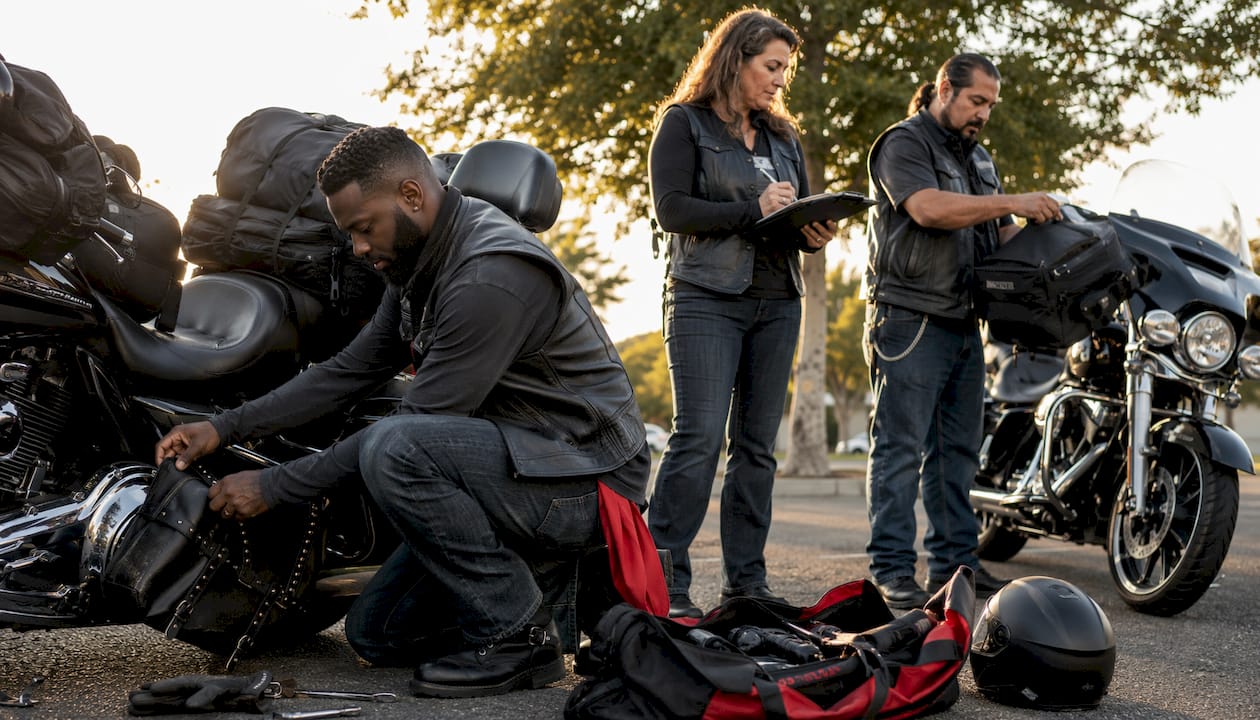
- Officer inspection before wheels roll. Road Captain approves the plan; Marshal walks the line; Sweep monitors once moving.
- Short shakedown lap. Every loaded bike does one slow loop of the parking lot before the group forms up.
Officer assignments at staging:
| Officer | Luggage duty |
|---|---|
| Road Captain | Sets weight rules, approves bag types, signs off on the plan |
| Marshal | Walks the formation line, checks strap tension and load balance |
| Sweep | Monitors shifting loads while moving, calls a controlled stop if needed |
Table of Contents
- What does each luggage system actually do on a club ride?
- How do you distribute weight and share the load across the group?
- What luggage setup fits your ride length?
- How do you route and test straps so nothing moves mid-ride?
- What should officers inspect, and who is responsible for what?
- Where should quick-access items live on the bike?
- How does the club stay dry and keep electronics alive?
- What are the most common luggage mistakes and how do you fix them fast?
- Key Takeaways
- The coordination plan that actually changed how our club rides
- Gear up right with Dmgmotorsports before your next club run
- Useful sources and further reading
What does each luggage system actually do on a club ride?
Every bag on a motorcycle has a job, and knowing which job belongs to which system is the first step toward biker luggage organization that actually holds up over 400 miles.
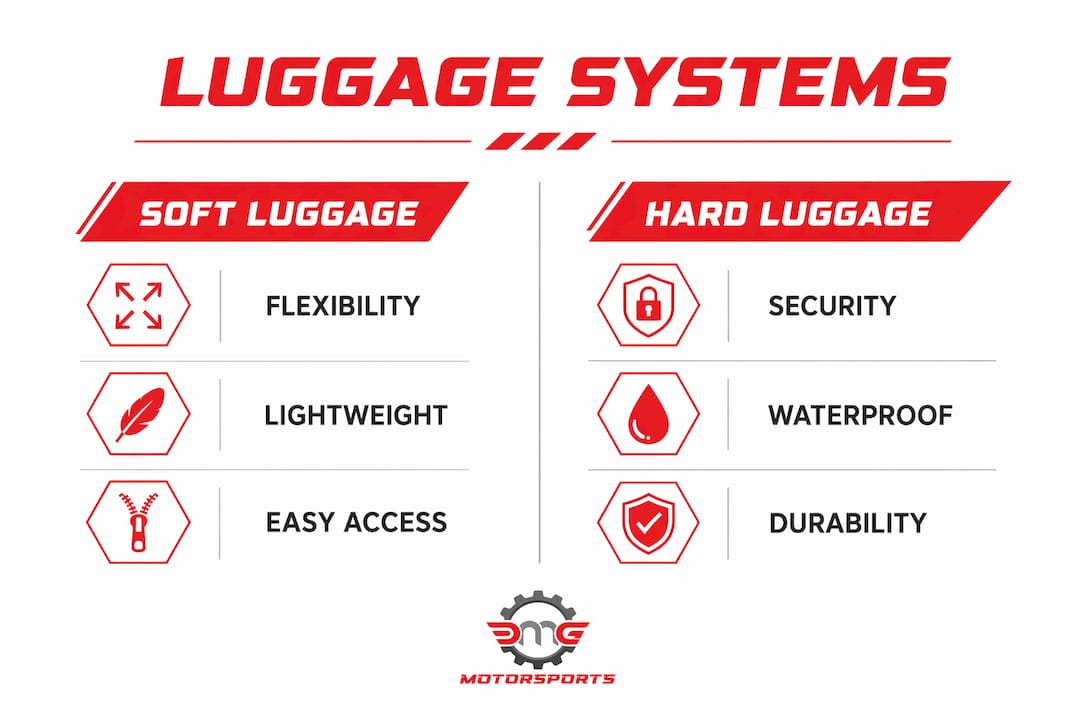
Saddlebags/panniers are the workhorses. Hard cases lock and shed water; soft panniers flex around obstacles and weigh less. Either way, they sit low and wide, which is exactly where you want the heavy stuff. The limitation: they can catch crosswind like a sail if they stick out too far.
Tail duffels and sissy bar bags handle overflow clothing and sleeping gear. They are fine for light, bulky items but turn into a pendulum if you load them with tools or canned food. Keep them soft and keep them light.
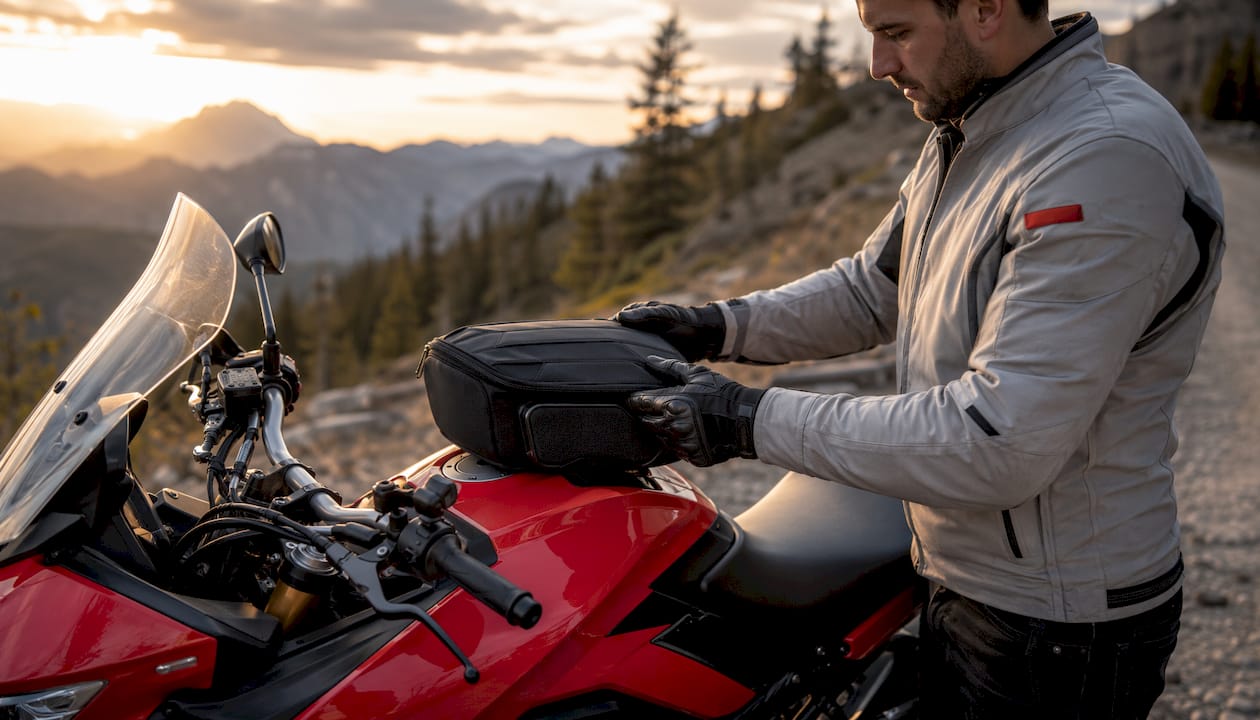
Tank bags are your cockpit. Maps, phone, snacks, registration, and anything you need without stopping. Magnetic mounts are fast; strap mounts are more universal. The trade-off is a slight rise in center of gravity right at the steering head, so do not overfill them.
Top boxes offer lockable, weatherproof convenience, but they sit high and rearward. A heavy top box in crosswind or during a panic stop is a liability. Reserve them for helmets and light clothing only.
Dry bags are the unsung heroes of multi-day club tours. A roll-top dry bag strapped to the rear seat or sissy bar keeps everything inside bone dry and compresses down when empty. They are also easy to redistribute if a rider drops out.
Tool rolls deserve their own mention. A shared club tool roll (one per every three or four bikes) saves weight across the group without leaving anyone stranded.
Pro Tip: For club runs under 200 miles, soft luggage wins every time. It is lighter, easier to inspect, and does not require a rack system that varies bike to bike. Save the hard cases for multi-day tours where lockable security and weather protection justify the extra weight.
How do you distribute weight and share the load across the group?
This is where group ride luggage tips get genuinely useful, because a single overloaded bike in a 20-bike formation is a safety problem for everyone behind it.
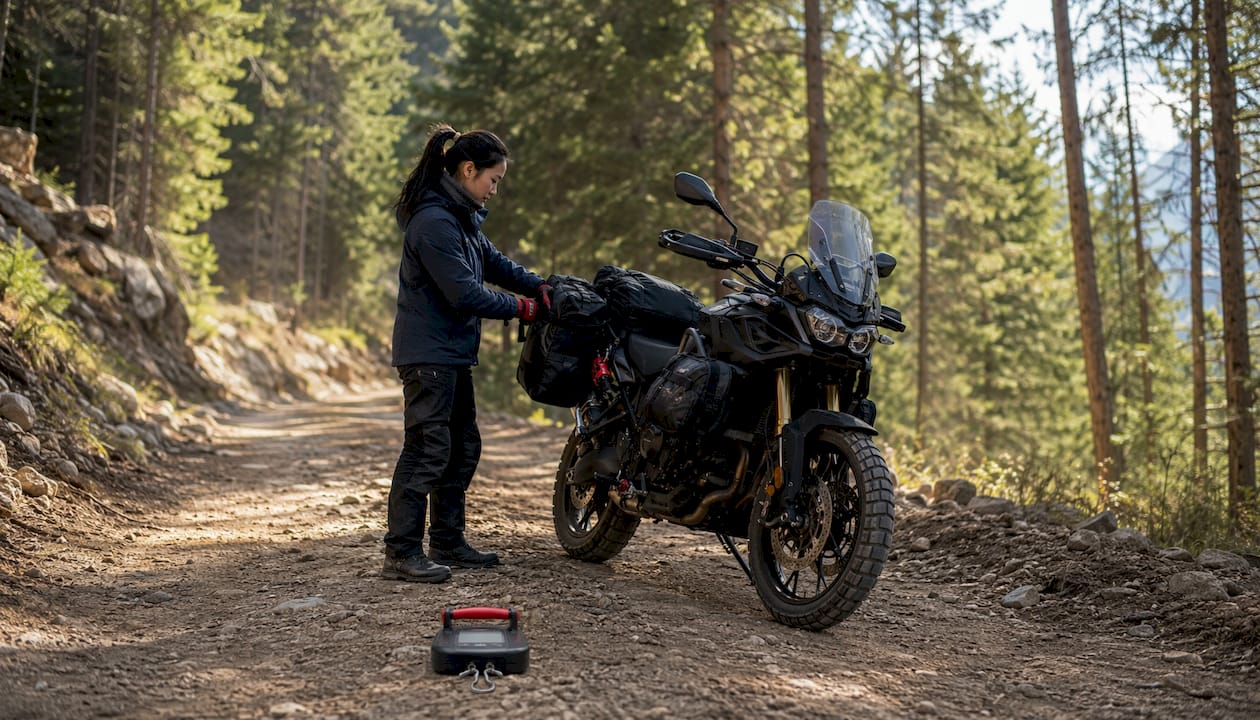
The industry-standard weight split targets roughly 60% of luggage weight low on the sides, 20% mid/seat zone, 10% in the tank bag, and 10% in the tail. Think of it as a pyramid: wide and low at the base, almost nothing at the top.
| Zone | Target share | What goes here |
|---|---|---|
| Low/side (saddlebags) | ~60% | Tools, fuel, food, heavy clothing |
| Mid/seat | ~20% | Sleeping bag, tent body, soft layers |
| Tank bag | ~10% | Documents, phone, snacks, maps |
| Tail/high | ~10% | Rain cover, light jacket, empty dry bag |
Left/right balance matters just as much as front/back. An uneven saddlebag load pulls the bike into a lean at low speed and makes lane changes feel weird. Have riders lift both bags before mounting. If one side is noticeably heavier, move items until they feel close. You do not need a scale at the staging area; your hands are good enough.
Shared load assignment table (copy and reuse):
- Shared tool roll: assigned to Rider 3 and Rider 7 (one per four-bike sub-group)
- Portable first-aid kit: assigned to Sweep Rider
- Group fuel jug (if applicable): assigned to mid-formation rider on a cruiser with large saddlebags
- Cooking gear (for camping runs): split between two riders with panniers, never stacked on one bike
A rear-high overloaded tail bag lightens the front wheel, reduces steering confidence, and raises wobble risk, especially during emergency maneuvers. That is not a theoretical concern; it is the most common cause of handling incidents on loaded club rides.
What luggage setup fits your ride length?
Not every club run needs a full touring rig. Matching the loadout to the ride type keeps handling sharp and staging fast.
Daily club run (under 150 miles)
Tank bag plus a small tail pack. That is it. No panniers, no top box. The tank bag holds documents, phone, and a snack. The tail pack carries a rain shell and a light layer. The bike handles like stock, formation riding stays tight, and nobody is wrestling with a loaded saddlebag at a gas stop.
Weekend trip (150–500 miles, one or two nights)
Add soft side panniers to the daily setup and swap the small tail pack for a mid-size tail duffel. Clothing goes in the panniers (bottom-forward), toiletries and electronics in the tank bag. This is the sweet spot for most club travel: enough capacity for two nights without turning the bike into a rolling storage unit.
Multi-day tour (500+ miles, three or more nights)
Panniers plus compressed dry bags on the rear seat or sissy bar, plus a tool roll shared across the group. If the route includes unpaved sections or heavy rain risk, hard panniers earn their keep here. Top boxes are acceptable on this configuration only if they carry nothing heavier than a helmet or a light jacket.
When to ban top boxes for a specific route: any route with significant crosswind exposure, tight mountain switchbacks, or a sustained section above 70 mph. The Road Captain should call this at the pre-ride briefing, not at the trailhead.
Pro Tip: Compression dry bags are the secret weapon for multi-day club tours. Pack your sleeping bag or puffy jacket into one, roll it down, and it shrinks to half the size. That freed space in your panniers is where the heavy items belong.
How do you route and test straps so nothing moves mid-ride?
Loose straps are not just annoying. A strap that works free and contacts a rear tire or exhaust pipe can end a ride instantly. Here is the step-by-step routine every rider and marshal should know.
- Identify your anchor points. Use frame loops, passenger grab rails, and luggage rack tie-down points. Never anchor to brake lines, cables, or plastic bodywork.
- Route straps away from heat. Keep all webbing at least two inches from the exhaust pipe and away from the rear wheel’s travel arc. A strap that looks clear when the bike is stationary can contact the tire under suspension compression.
- Use load-rated straps for load-bearing work. Rok Straps or similar hybrid rubber-webbing straps are the standard for tail duffels and dry bags. Bungee cords are backup only, never primary load-bearing.
- Cross-route for stability. On a tail duffel, run one strap front-to-back and a second side-to-side in an X pattern. This prevents the bag from shifting rearward under acceleration.
- Tighten, then tuck. After tensioning, tuck loose strap ends under the load or secure them with a cable tie. A flapping strap end is a distraction and a snag hazard.
- Grab-and-shake test. Grab the bag with both hands and try to move it in every direction. It should feel like part of the bike.
- Walk-around silhouette check. Step back and look at the bike from the rear. No bag should extend beyond the handlebar width or hang below the footpeg line.
- Short shakedown lap. One slow loop of the parking lot before formation. Listen for rattles, watch for shifting.
A rear-high load acts like a pendulum in crosswinds and during emergency braking, which is why the grab-and-shake test matters even when straps feel tight at rest. The Marshal should repeat the walk-around check after the shakedown lap, not before it.
What should officers inspect, and who is responsible for what?
Club bylaws in many organizations formally assign Road Captains authority to inspect equipment and reject riders from the formation for unsafe gear. That authority is only useful if officers know exactly what to look for.
The Marshal’s job is not just traffic control. Per group riding safety guidance, the Marshal may roam up and down next to the group to check that all riders are still following safety procedures and that any luggage is still secured.
Officer inspection checklist (run this at staging):
- Bag security: every bag is strapped, not just resting on a rack
- Strap routing: no webbing near exhaust, brake lines, or tire arc
- Load balance: both saddlebags visually even; no obvious rear-high overload
- Quick-access items: rain gear and documents accessible without unpacking
- Tire pressure: check after loading, not before, since load changes the required pressure
- Shakedown lap: completed and no issues reported
Sample inspection record (clubs can reproduce this):
The Sweep Rider is the live luggage monitor once the group is moving. They should be trained to spot shifting loads, loose strap ends, and bags that have rotated out of position, and to use hand signals or radio to call a controlled stop before a problem escalates.
Where should quick-access items live on the bike?
The rule is simple: if you might need it without planning to stop, it lives where you can reach it with one hand while standing next to the bike. Digging through a packed saddlebag on the shoulder of a highway is how group rides lose 20 minutes and riders lose their cool.
- Tank bag: phone (in a waterproof sleeve), registration and insurance card (in a zip-lock), snacks, lip balm, earplugs. Everything you touch every hour.
- External saddlebag pocket: rain shell, light gloves, a bandana. Reachable in 10 seconds without opening the main bag.
- Tail bag top pocket or hosel pouch: basic first-aid (bandages, ibuprofen, blister pads). Not buried, not forgotten.
- Inside jacket pocket: ID, emergency contact card, cash. On your body, not on the bike.
Pack in order of use. Items you need at the first fuel stop (snacks, lip balm) go on top or in external pockets. Items you need only at camp (cooking gear, extra layers) go at the bottom of the main bag. This sounds obvious until you are standing in a gas station parking lot at 7 AM pulling everything out to find your rain jacket.
Pro Tip: Use small roll-top dry bags inside your main panniers as modular organizers. One dry bag for clothing, one for electronics, one for food. At a fuel stop or checkpoint, you grab the right dry bag and go. No repacking, no chaos, no holding up the group.
How does the club stay dry and keep electronics alive?
One soaked phone or dead radio in a 15-bike group can derail navigation for everyone. Standardizing weatherproofing across the club is not overkill; it is basic ride governance.
The multilayer approach works best: a roll-top dry bag inside the pannier, with electronics wrapped separately in a sealed pouch inside that dry bag. Two layers of protection means a pannier seam failure does not kill your phone.
Weather checklist for the pre-ride briefing:
- Forecast check: Road Captain confirms conditions for the full route, not just the start point
- Rain gear placement: every rider confirms their shell is in an external pocket, not packed deep
- Electronics: phones in waterproof sleeves, radios with charged batteries and a spare set
- Charging: heated gear and USB chargers confirmed for overnight stops on multi-day runs
- Waterproof map pocket: tank bags with a clear map window keep navigation accessible without a wet phone screen
For riding in variable weather, the Pacific Northwest rule applies everywhere: assume a 30% chance of rain on any ride over four hours and pack accordingly. A waterproof bag recommendation is not about pessimism; it is about keeping the group moving when the sky changes its mind.
What are the most common luggage mistakes and how do you fix them fast?
These are the errors marshals spot most often at staging and on the road. Most take under five minutes to fix if you catch them early.
- Top-heavy tail bag. Symptom: bike feels vague in corners, wobbles at highway speed. Fix: move heavy items to the bottom of saddlebags; if the tail bag is still too full, redistribute to willing riders with spare capacity.
- Uneven side loads. Symptom: bike pulls to one side at low speed. Fix: swap items between saddlebags until both sides feel equal when lifted.
- Loose straps. Symptom: audible flapping, visible strap movement at speed. Fix: pull over immediately, re-tension and re-tuck. Do not wait for the next fuel stop.
- Overloaded top box. Symptom: steering feels heavy, front end lifts under acceleration. Fix: remove heavy items and redistribute to panniers or offer them to another rider.
- Incorrect tire pressure after loading. Symptom: sluggish handling, increased fuel consumption. Fix: check and adjust pressure at the first fuel stop after loading.
Sweep/Marshal troubleshooting flow for a mid-ride luggage report:
- Receive signal (hand signal or radio) from affected rider or observer.
- Assess severity: is the load shifting, or is a strap already loose and near the tire?
- If near the tire or exhaust, call an immediate controlled stop via radio or hand signal to Road Captain.
- Pull off safely, assess the bike, redistribute or re-secure.
- If a rider’s load cannot be safely re-secured, redistribute gear to two or three other bikes and continue.
- Log the incident for the post-ride debrief.
Key Takeaways
Effective motorcycle club luggage coordination requires Heavy-Low-Forward loading, left/right balance, officer inspection, and a shakedown lap before any group ride begins.
| Point | Details |
|---|---|
| Heavy-Low-Forward is non-negotiable | Dense items belong in the bottom-front of saddlebags, never stacked high on a tail rack. |
| Weight split targets 60/20/10/10 | Roughly 60% low/side, 20% mid, 10% tank, 10% tail keeps handling predictable across the group. |
| Officer roles are specific | Road Captain approves the plan; Marshal walks the line; Sweep monitors shifting loads while moving. |
| Quick-access placement saves stops | Rain shell, documents, and first-aid live in external pockets or the tank bag, never buried in main bags. |
| Dmgmotorsports supplies the hardware | Straps, roll-top dry bags, and modular organizers matched to your bike’s geometry are available at Dmgmotorsports. |
The coordination plan that actually changed how our club rides
Here is an honest take: most clubs do not have a luggage problem. They have a consistency problem. One rider shows up with a perfectly packed rig; the next has a duffel bungeed to a sissy bar at a 45-degree angle with a strap end flapping near the rear wheel. The officer does a quick visual and waves everyone through because stopping to fix it feels awkward.
That awkwardness costs more than it saves. A single mid-ride stop to deal with a shifting load adds 15 minutes to the schedule, puts riders on the shoulder of a highway, and rattles the group’s confidence. Two of those stops and the ride loses its rhythm entirely.
The fix is not stricter officers. It is a shared standard that riders buy into before they ever show up at staging. When the club agrees on bag types, weight zones, and strap hardware in advance, the inspection becomes a quick confirmation rather than a confrontation. The Marshal is not the bad guy; they are just checking that everyone followed the plan they already agreed to.
One practical tip that bridges the gap between ideal packing and real-world limits: designate a redistribution meeting point at the first fuel stop, not at staging. Riders who overpacked or misjudged their load can offload to willing riders there, without holding up the formation at the start. It removes the pressure to get everything perfect at 6 AM in a parking lot, and it gives the group a built-in safety valve.
Gear up right with Dmgmotorsports before your next club run
You have the coordination plan. Now you need the hardware that holds it together. Dmgmotorsports carries motorcycle luggage built for exactly this kind of club-level thinking: roll-top dry bags that compress when empty, load-rated hybrid straps that stay put at highway speed, and modular organizers sized for tank bags and external pockets.

Before recommending specific hardware to your club, check each product against your bike’s geometry and payload rating. A strap that works perfectly on a touring cruiser may not anchor correctly on a sport-tourer with a different grab rail position. Dmgmotorsports’s product pages include compatibility notes, and the support team can help you match gear to your specific setup.
Browse the full luggage and accessories range at dmgmotorsports.com and get your club’s kit sorted before the next ride brief.
Useful sources and further reading
These are the references clubs can trust for deeper technical detail, formal protocols, and bylaw templates.
-
Motorcycle Safety Foundation (MSF) — The MSF’s organizational resources define Marshal, Sweep Rider, and Road Captain roles in mass-ride management. Use this for officer training and role descriptions in your club bylaws.
-
Motorcycle Safety Institute — Group Riding Safety — Covers planning, communication, hand signals, and the Road Captain’s authority to ensure no rider is left behind. Practical for pre-ride briefing templates.
-
RIPS & RIDES — Motorcycle Luggage Weight Distribution Guide — Detailed explanation of how rear-high loads affect steering confidence and braking distance. Good technical reading for officers who need to explain why the weight rules exist.
-
Bikes & Bays — How to Pack a Motorcycle for a 2-Week Camping Trip — Source for the 60/20/10/10 weight split guideline and practical zone-by-zone packing advice.
-
CampedTooHard — How to Pack a Motorcycle for Camping — Covers the golden triangle/centerline approach and practical rules for strap choice and bag selection on smaller bikes.
-
Thunder Motorcycle Club Bylaws — Scribd — A real-world example of club bylaws assigning Road Captain and officer authority to inspect and enforce safety rules. Use as a template reference when drafting your own.
-
Leather & Lace MC — Packing the Bike — Practical, rider-level walkthrough of saddlebag organization, quick-access placement, and why heavy-low-forward matters in real riding conditions.
Recommended
- Motorcycle Club Safety Briefing Checklist for Every Ride - DMG Motorsports
- Staying Safe and Stylish on the Track: The Importance of Proper Motorcycle Gear - DMG Motorsports
- Motorcycle Gear Fit for Women Riders: 2026 Guide - DMG Motorsports
- Motorcycle Cover Selection Guide: Choose Right Every Time - DMG Motorsports