

Helmet Visor Replacement Steps: A Rider’s How-To
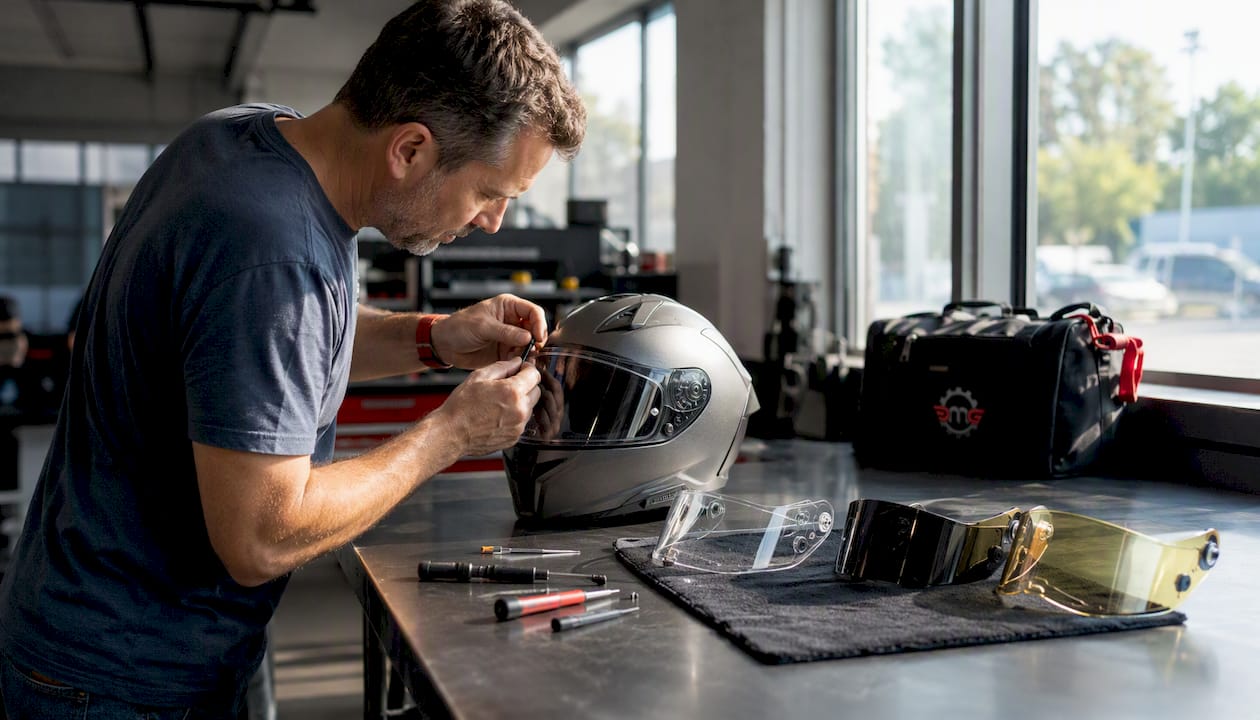
Yes, you can absolutely replace your helmet visor yourself, and most riders knock it out in 5–15 minutes flat. No mechanic required, no special garage setup, just you, your helmet, and a little know-how. The helmet visor replacement steps are the same across most brands: open the visor fully, find the release mechanism, disengage one side then the other, slide the visor off, and reverse the process with the new one.
Before you grab anything, know which mechanism your helmet uses:
- Quick-release pins: Press a button or tab on each side to pop the visor free (common on mid-range full-face helmets).
- Lever/clip systems: Lift a small lever or clip, then slide the visor out of its pivot channel.
- Screws: A small flat-head or Phillips screw secures each pivot plate (older or budget helmets).
- Snap-fit pivots: Compress the pivot tabs inward to release (common on sport helmets).
- Inner drop-down sun visors: An internal slider releases a second tinted shield behind the main visor.
One rule applies to all of them: work on a soft surface, keep every tiny spring and pin in a container, and use an OEM or model-specific visor whenever possible. A universal-fit visor that doesn’t seal correctly is a wind-noise nightmare at highway speed and a genuine safety risk.
Table of Contents
- What do you need before starting the visor swap?
- How do you remove the old visor without breaking anything?
- How to install the replacement visor correctly
- What should you check after installing the new visor?
- How do you fix the most common visor problems after installation?
- How do you choose the right replacement visor?
- How do you clean and maintain a visor so it lasts?
- Why OEM and model-specific visors are the safer choice
- Key Takeaways
- Get the right visor for your helmet at Dmgmotorsports
- Useful sources and manuals to read next
What do you need before starting the visor swap?
Preparation takes two minutes and saves you from scratching your helmet or losing a spring under the couch. Lay a folded towel or foam mat on your work surface, then gather:
- A soft microfiber cloth (for handling the new visor without fingerprints)
- A small flat-head or Phillips screwdriver (only if your helmet uses screw-fastened pivots)
- A container or small bowl for screws, springs, and pins
- Latex or nitrile gloves (optional, but they keep oils off optical surfaces)
- A mild visor cleaner or a drop of dish soap and warm water
Before touching anything, verify your helmet’s fit and model number so you can confirm the replacement visor matches your exact shell. Check whether your helmet uses a Pinlock anti-fog insert, because the replacement visor needs Pinlock-ready posts to accept it. Inspect the existing pivot housing for cracks or bent tabs while you’re at it — if the housing is damaged, a new visor alone won’t fix the problem.
Pro Tip: Use Dmgmotorsports’ fitment lookup on the product page to match your helmet model to the correct OEM or model-specific visor before you buy. Getting the wrong part is the single most common reason this job takes longer than 15 minutes.
How do you remove the old visor without breaking anything?
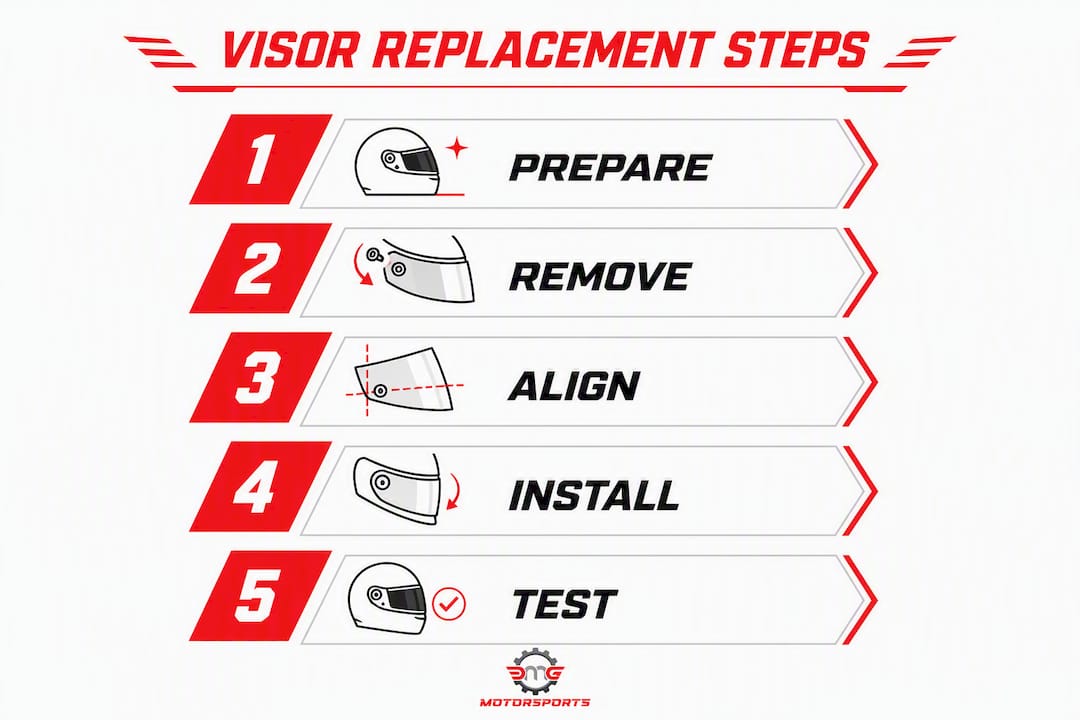
Most helmet visors attach via a side-mounted release — a button, tab, lever, or screw — and the removal sequence follows the same logic regardless of brand. Here’s the universal workflow:
- Place the helmet on your padded surface, chin bar facing up or resting on its side so it’s stable.
- Open the visor to its fully open position (this is non-negotiable — the pivot only releases at full open on most helmets).
- Locate the release mechanism on both sides. Look for a small button, lever, or screw near the pivot point at the temple area.
- Disengage one side first: press, lift, or loosen as the mechanism requires while supporting the visor with your other hand.
- Repeat on the opposite side, letting the visor pivot free gently. Don’t yank.
- Slide the visor off the pivot axis and set it aside on the microfiber cloth.
Now, the mechanism-specific details that actually matter:
Quick-release pins: Press the button inward and slide the visor toward the front of the helmet simultaneously. Both sides don’t always release at the exact same moment — that’s normal.
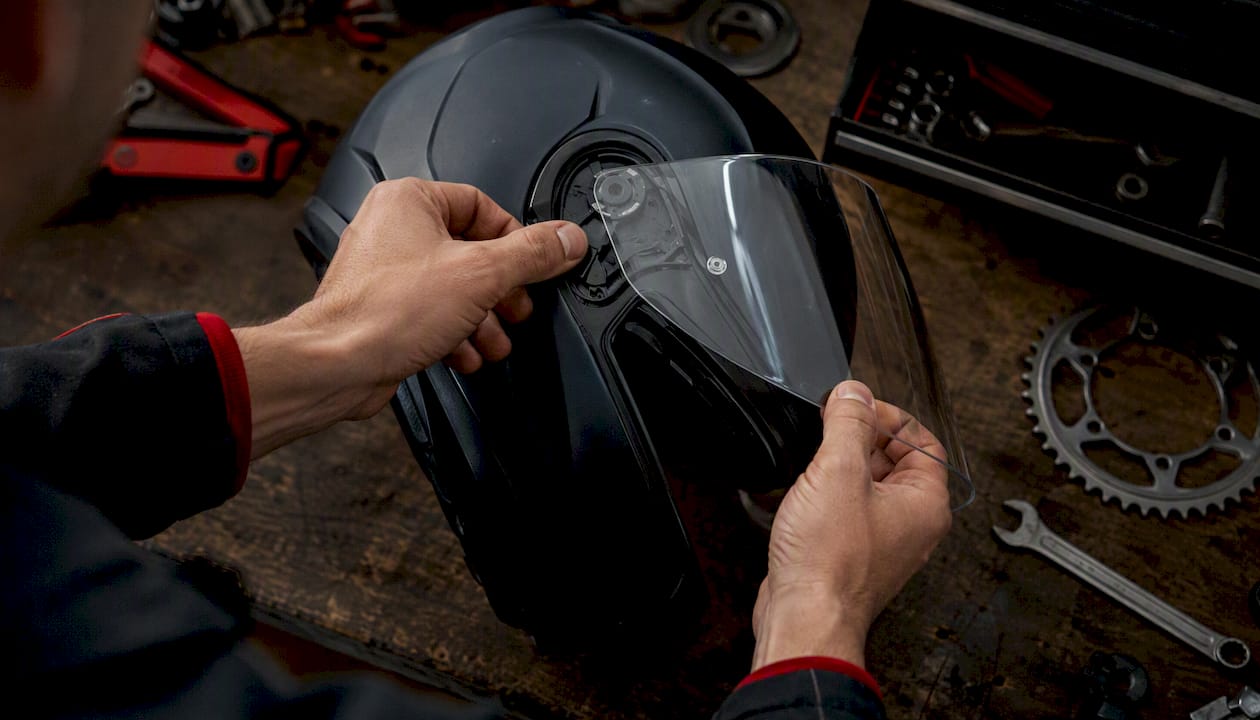
Lever/clip systems: Lift the small lever upward (or outward, depending on the brand), then slide the visor forward out of the channel. BMW’s System 7 Evo, for example, uses simultaneous side-button presses — both buttons at once, then a gentle pull.
Screw-fastened pivots: Loosen (don’t remove entirely unless necessary) the screw on each side. Keep the screws in your container immediately. Note the torque feel — you’ll want to replicate it on reassembly without overtightening.
Snap-fit pivots: Compress the pivot tab inward toward the helmet while pulling the visor outward. These can feel stiff the first time. Patience beats force every time.
Inner drop-down sun visors: Release the outer main visor first using whichever method above applies, then use the internal slider or lever to drop and remove the inner tinted shield separately.
Pro Tip: If a pivot feels stuck, don’t lever it with a screwdriver. Warm the pivot area gently with your hands for 30 seconds — the slight flex in the plastic often frees a stubborn tab without cracking the housing.
Shoei’s model-specific PDF manuals show exact fastener locations and pivot diagrams for their helmets. If your helmet is a Shoei, pull up the PDF before you start.
How to install the replacement visor correctly
Align the new visor in the same fully open position you used for removal. That’s the key. Trying to seat a visor at half-open is how pivot tabs get bent.
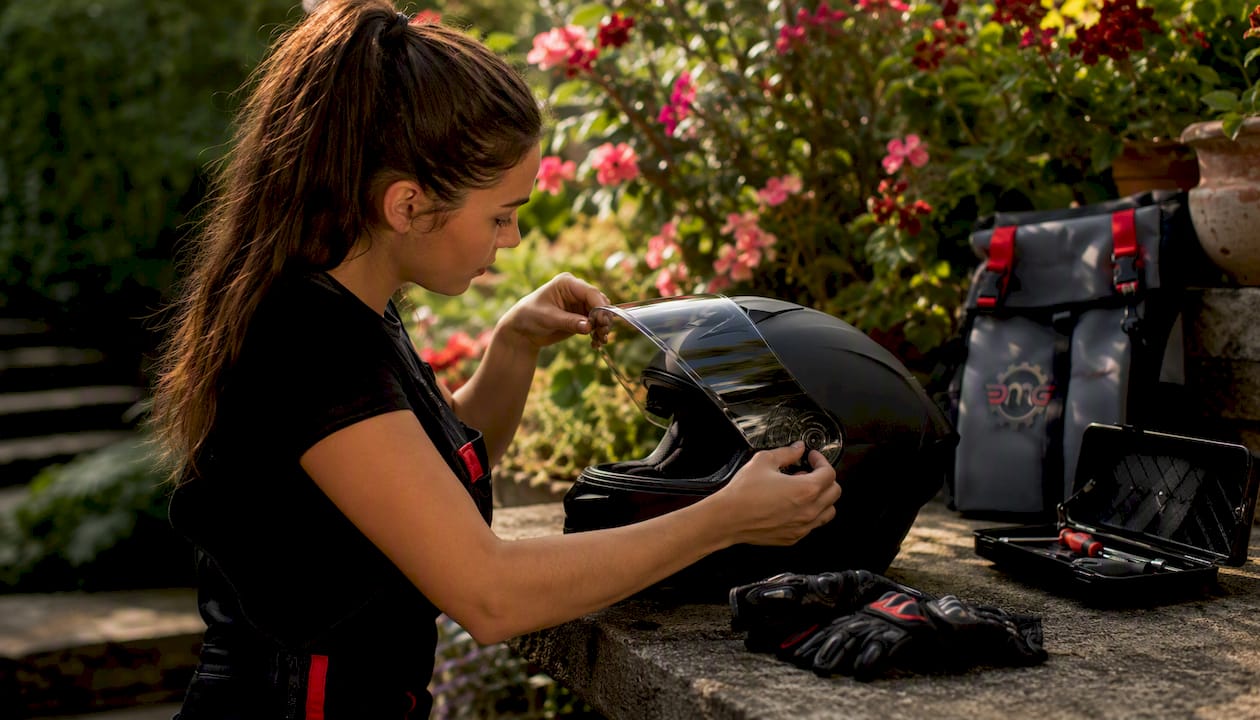
Slide the pivot axis of the new visor into the receiver on one side first, pressing gently until you feel it begin to seat. Then work the opposite side in, keeping even pressure across both pivots. For quick-release and lever systems, you should hear or feel a distinct click when each side locks. No click means it’s not fully seated — do not move on.
For screw-fastened pivots, hand-tighten the screws first, check that the visor moves smoothly through its full range, then snug the screws down. Overtightening cracks the pivot plate. Firm is enough.
If your helmet uses a Pinlock insert, seat the insert onto the visor’s Pinlock posts before installing the visor on the helmet. Trying to fit the insert after the visor is mounted is a frustrating puzzle you don’t need.
Post-install checklist before you ride:
- Both sides click and feel equally secure
- Visor opens and closes smoothly through its full range with no catching
- No visible gaps along the foam edge seal
- Pinlock or anti-fog insert sits flat with no air bubbles at the edges
- Visor locks in the closed position without rattling
What should you check after installing the new visor?
A quick bench test takes 60 seconds and tells you whether the visor is road-ready. Run through these checks before you put the helmet on:
- Full-range open/close: Cycle the visor from fully closed to fully open and back five times. It should move without resistance or grinding.
- One-hand operation: Can you open and close it with one gloved hand? If it’s stiff or requires two hands, the pivot may need slight adjustment.
- Seal inspection: Press the visor closed and run your finger along the foam seal. Any gap larger than a couple of millimeters will let wind noise in at speed.
- Optical check: Hold the visor up to a light source and look through it at a straight edge (a door frame works). Distortion or waviness means the visor has an optical defect — return it.
- Lock test: Close the visor and try to push it open with light upward pressure. It should stay locked. A visor that pops open under light pressure will definitely pop open at 70 mph.
For the safety ratings context on why a proper seal matters, a compromised visor seal affects both aerodynamics and protection. Once the bench checks pass, take a short, low-speed ride around the block. Listen for wind noise at the visor edges, check that the visor doesn’t vibrate or flutter, and confirm it stays locked through a couple of head movements.
How do you fix the most common visor problems after installation?
Most post-install issues come down to one of five problems. Here’s how to sort them out fast:
| Problem | Likely Cause | Fix |
|---|---|---|
| Visor won’t click into place | Debris in pivot receiver or misaligned tab | Remove visor, clear debris with a dry cloth, realign tab and reseat |
| Visor pops open at speed | Wrong visor type or worn locking detent | Confirm visor is model-specific; inspect detent spring for wear |
| Scraping or catching during open/close | Bent pivot tab or foreign object in channel | Inspect pivot channel, straighten minor bends carefully, remove debris |
| Wind noise at visor edges | Seal gap or incorrect visor fitment | Check foam seal contact; confirm visor model matches helmet shell |
| Fogging despite Pinlock insert | Insert not fully seated or posts worn | Remove insert, clean posts, reseat firmly until both ends click |
If the pivot housing itself is cracked or a detent spring is broken, that’s the point to stop the DIY session. A cracked pivot housing won’t hold the visor securely, and no amount of careful reinstallation fixes a broken spring. Contact a retailer or a helmet service center for replacement pivot hardware.
Pro Tip: A slightly misaligned visor (one side sits a hair lower than the other) usually means one pivot isn’t fully seated. Remove that side, clear any debris from the receiver, and reseat it with firm, even pressure. Don’t try to force alignment by bending the visor frame.
How do you choose the right replacement visor?
Fitment is everything. A visor that doesn’t match your helmet model can fail to seal, reduce optical clarity, or skip the locking detent entirely, all of which are problems you don’t want to discover at highway speed. Non-compatible visors can fail to seal, reduce optical clarity, or fail to lock correctly, which is why model-specific fitment is the standard recommendation from every major manufacturer.
| Factor | OEM Visor | Reputable Aftermarket |
|---|---|---|
| Seal accuracy | Designed for exact shell geometry | Varies; check fitment guarantee |
| Optical quality | Meets manufacturer standard | Varies by brand and price point |
| Locking accuracy | Guaranteed to engage detents | Confirm with model-specific listing |
| Pinlock compatibility | Confirmed by manufacturer | Check for Pinlock-ready posts |
| Warranty / returns | Covered by helmet warranty terms | Depends on seller policy |
For U.S. riders, the practical approach is:
- Use OEM visors when they’re available and reasonably priced.
- Aftermarket is acceptable when the listing specifies your exact helmet model and shell version (not just “fits most full-face helmets”).
- Always check pin positions and hinge type in product photos before buying.
- Keep your receipt and part number. If the visor doesn’t fit perfectly, you want a clean return path.
For a deeper look at visor types and what each one is designed for, Dmgmotorsports covers everything from clear and tinted to photochromic and Pinlock-ready options.
How do you clean and maintain a visor so it lasts?
A visor that’s scratched or fogged is a safety problem, not just an annoyance. The cleaning routine is simple, but the wrong move (paper towels, Windex, a dry wipe on a dusty visor) can scratch the optical coating in one pass.
Safe cleaning steps:
- Rinse the visor with lukewarm water first to float off grit before touching it.
- Apply a small amount of visor-specific cleaner or a drop of mild dish soap to a damp microfiber cloth.
- Wipe in straight lines, not circles, using light pressure.
- Rinse clean and pat dry with a second dry microfiber cloth.
What to avoid:
- Paper towels (they scratch anti-fog and anti-scratch coatings)
- Household glass cleaners like Windex (ammonia destroys anti-fog layers)
- Dry wiping a dusty visor (grit acts like sandpaper)
- Abrasive surfaces during storage
Maintenance schedule: Inspect pivot points and the foam edge seal monthly if you ride daily. Replace the visor when scratches sit in your direct line of sight, when the anti-fog coating shows persistent clouding, or when the foam seal is compressed and no longer makes full contact. For ventilation and maintenance tips that extend helmet life, Dmgmotorsports has a practical breakdown worth bookmarking.
Why OEM and model-specific visors are the safer choice
The short version: a visor that fits perfectly seals perfectly, locks perfectly, and maintains the optical clarity the helmet was certified with. Using a non-specific visor introduces variables the helmet manufacturer never tested for.
Manufacturer manuals show the exact location of release tabs and pivot screws, and consulting them avoids guesswork that can damage detents or springs. That’s not just cautious advice — it’s the difference between a 10-minute swap and a cracked pivot housing.
Key reasons to go OEM or model-specific:
- Preserves the original seal geometry and foam contact
- Maintains the optical standard the helmet was tested with
- Guarantees locking detent engagement
- Keeps Pinlock compatibility intact
- Protects any remaining helmet warranty
If you’re unsure whether a visor is compatible with your helmet, use Dmgmotorsports’ fitment lookup or reach out to the support team before buying. Getting the right part the first time is always faster than a return.
Key Takeaways
Most helmet visor swaps take 5–15 minutes when you use the correct model-specific visor and follow the open-then-release sequence for your mechanism type.
| Point | Details |
|---|---|
| Mechanism first | Identify your release type (quick-release, lever, screw, snap-fit, or drop-down) before starting. |
| Open fully before releasing | The visor pivot only disengages at full open on most helmets — skipping this step causes damage. |
| OEM or model-specific only | Non-compatible visors can fail to seal, lock, or maintain optical clarity at speed. |
| Test before riding | Confirm both sides click, the seal contacts fully, and the visor stays locked under light pressure. |
| Dmgmotorsports fitment help | Use Dmgmotorsports’ fitment lookup to confirm the correct visor for your helmet model before buying. |
The part most riders skip (and why it matters)
Here’s the thing nobody talks about in visor guides: the post-install test ride is the step most riders skip, and it’s the one that actually tells you whether the job is done. A visor that clicks on the bench can still flutter, whistle, or pop open at 65 mph if the pivot detent is worn or the visor model is slightly off-spec for your shell.
The conventional wisdom says “if it clicks, you’re good.” That’s mostly true, but “mostly” is doing a lot of work in that sentence. A worn detent will click and still fail under aerodynamic load. A visor that’s one revision off from your helmet’s shell will seal at the edges but gap at the center. Neither of these problems shows up on a bench test.
The real best practice is to treat the short check ride as mandatory, not optional. Two minutes at low speed in a quiet parking lot tells you more than five minutes of bench testing. Wind noise at the seal, any flutter in the visor frame, or a visor that creeps open under airflow — those are the signals that something needs a second look before you’re on the highway.
Get the right visor for your helmet at Dmgmotorsports
Knowing the helmet visor replacement steps is half the job. The other half is having the right part in your hands before you start. Dmgmotorsports carries OEM and model-specific replacement visors for a wide range of helmet brands, with a fitment lookup tool that matches your exact helmet model to the correct visor, so you’re not guessing at part numbers or hoping a “universal fit” actually fits.
If a visor arrives and something’s off, the return and exchange process is straightforward. The support team can also help you confirm Pinlock compatibility, pin positions, and hinge type before you order, which saves the round-trip entirely. Head to Dmgmotorsports to find your replacement visor, use the fitment tool, or contact support with your helmet model and they’ll point you to the right part.
Useful sources and manuals to read next
Your helmet’s user manual is always the first place to check for model-specific fastener locations, torque specs, and approved visor part numbers. Beyond that, these resources cover the most common helmet systems and practical how-to procedures:
| Source | What it covers | Why it’s useful |
|---|---|---|
| Shoei Shield/Visor PDF (CWF-1) | Step diagrams for Shoei shield removal and installation | Exact fastener locations and pivot illustrations for Shoei models |
| Shoei Shield/Visor FAQ PDF | Multi-model diagrams and removal steps | Best single source for Shoei-specific torque and detent notes |
| BMW System 7 Evo visor guide | Simultaneous button-press method for BMW modular helmets | Manufacturer-written sequence with OEM fitment emphasis |
| Gone Touring visor how-to | Generic release-tab method for common helmet brands | Clear walkthrough of the universal open-then-release sequence |
| Motorcycle Helmet Hub visor guide | Practical tips on tools, soft surfaces, and small-parts handling | Good checklist companion for the prep and caution steps |
- Always cross-reference the source with your specific helmet model — procedures vary even within the same brand’s lineup.
- If your helmet manual is lost, most manufacturers post PDF versions on their support pages by model name and year.
- For visual learners, a short video walkthrough of your specific helmet’s mechanism is worth finding before you start.