
How to Fit a Motorcycle Helmet for Performance and Comfort

Finding a helmet that fits right can feel like chasing perfection across every twist of the Southern California highways. For sportbike and track riders, nailing the fit means more than just comfort—it’s about staying safe and locked in during long commutes or all-out track sessions. By mastering the basics of helmet anatomy and understanding how different helmet styles and retention systems affect fit, you set yourself up for performance and protection in every riding scenario.
Table of Contents
- Step 1: Prepare For Helmet Fitting
- Step 2: Select The Right Helmet Size
- Step 3: Adjust Helmet Position And Straps
- Step 4: Verify Helmet Fit And Comfort
- Step 5: Test For Performance And Safety
Quick Summary
| Key Point | Explanation |
|---|---|
| 1. Understand Helmet Anatomy | Familiarize yourself with key helmet components: outer shell, liner, and padding to assess their impact on fit and comfort. |
| 2. Try Multiple Helmet Sizes | Ignore size labels; try various brands and sizes systematically to find the right fit that accommodates your unique head shape. |
| 3. Adjust Straps for Safety | Ensure straps form a ‘V’ shape, are snug but not uncomfortable, and check chin strap tightness for secure helmet positioning during rides. |
| 4. Test Fit for Extended Comfort | Wear the helmet for 30-45 minutes to identify pressure points or discomfort, ensuring it feels good for longer rides. |
| 5. Verify Safety Certifications | Check for DOT, ECE, or Snell certifications on your helmet, ensuring it meets safety standards for effective protection on rides. |
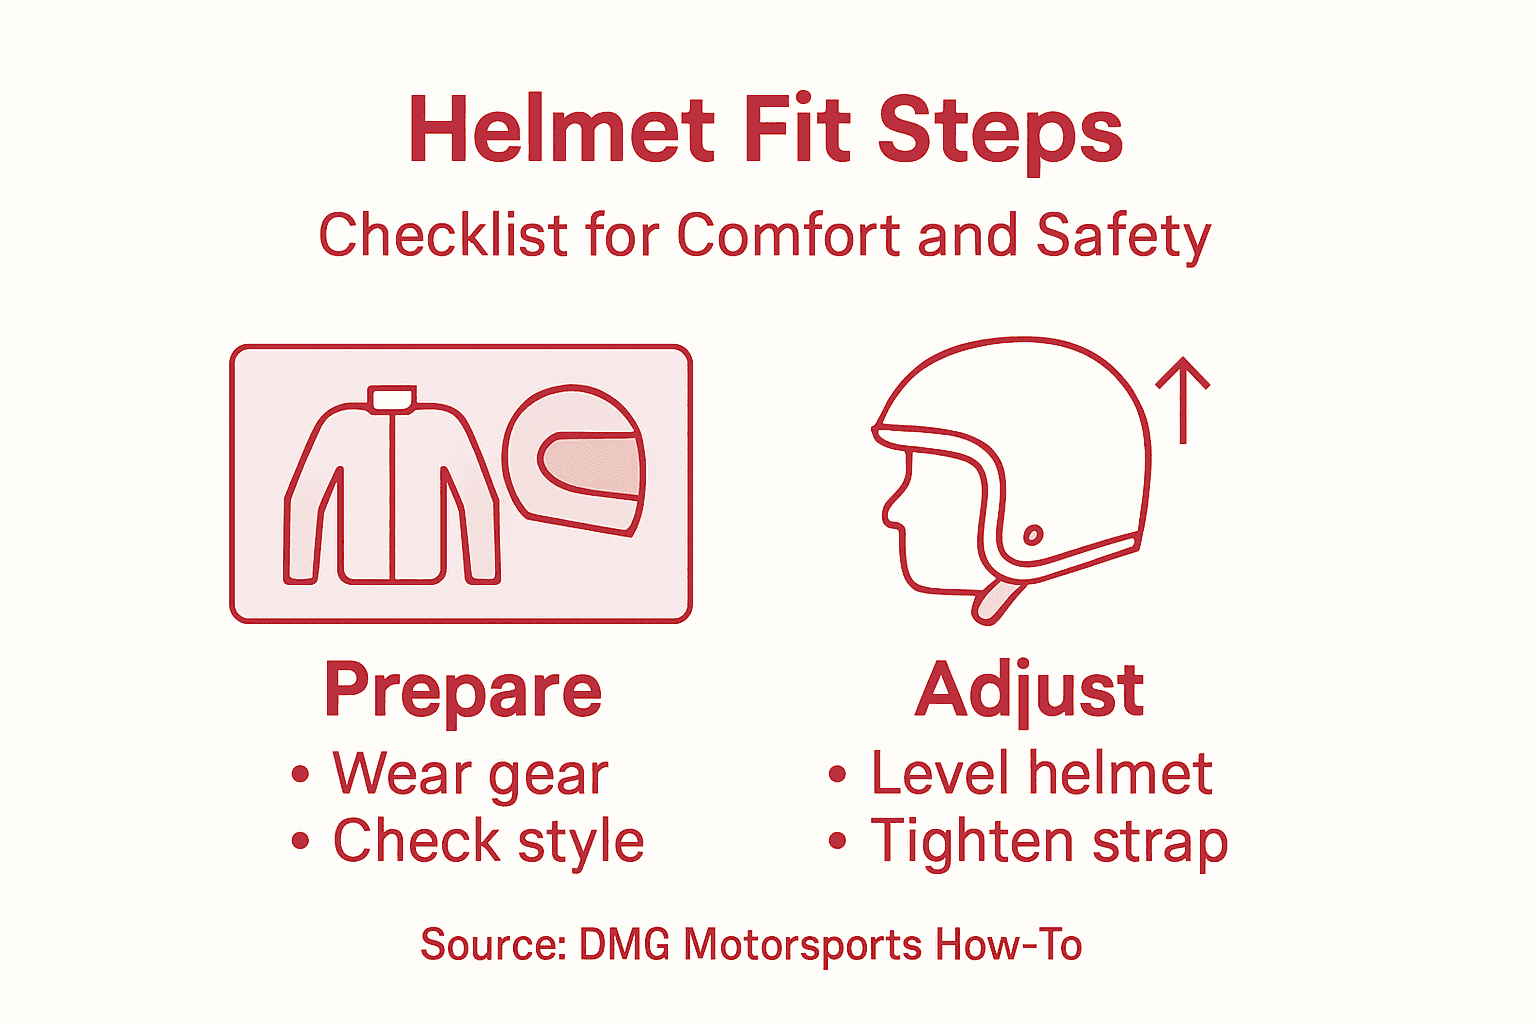
Step 1: Prepare for helmet fitting
You’re about to find a helmet that actually feels like part of your gear, not a vice gripping your skull. This step sets you up for success by familiarizing yourself with what you’re looking for and getting ready to try on multiple options until you nail the fit.
Start by understanding helmet anatomy. The outer shell protects you on impact, the liner absorbs energy, and the padding provides comfort during long rides. Know what you’re dealing with so you can assess how each helmet component affects your fit.
Next, learn about different helmet styles. Whether you’re running a full-face for track days or a modular for commuting, each style fits differently. Your choice depends on your riding style, so check out different helmet types to see what matches your needs.
Understand the retention system too. Straps, chin bars, and padding work together to keep your helmet stable when carving through canyon roads or leaning hard on the track. A loose helmet is useless, and a too-tight one kills your comfort.
Gather these essentials before hitting the shop:
- Multiple helmet options to try (different brands and sizes)
- A mirror to check positioning and fit
- Time to try several helmets without rushing
- Your riding gear or at least the gear you typically wear
Your gear matters because bulky shoulders or a collar affects how the helmet sits. Wear what you’ll actually ride in so the fit matches reality.
Know what to expect from helmet safety ratings like DOT, ECE, and Snell. A properly fitting helmet that meets safety standards protects your head better than a loose helmet that exceeds every spec.
Here’s an overview of major motorcycle helmet safety standards:
| Certification | Region/Organization | Key Focus | Typical Marking Location |
|---|---|---|---|
| DOT | United States | Impact, retention, penetration | Back of helmet |
| ECE 22.06 | Europe/Global | Strict impact and rotation tests | Label inside or rear |
| Snell M2020 | Private (Snell Foundation) | Advanced impact and multiple hit tests | Sticker inside or rear |
Understanding helmet styles helps you choose the best match for your riding needs:
| Helmet Style | Best For | Typical Pros | Common Drawbacks |
|---|---|---|---|
| Full-face | Sports, track, high speeds | Maximum protection | Less airflow, heavier |
| Modular (Flip-up) | Commuting, touring | Versatile, easy on/off | Slightly less safe |
| Open-face | City, casual rides | Light, good airflow | Less jaw protection |
| Off-road | Dirt, motocross, adventure | Lightweight, vented | Not for highway speeds |
Finally, prepare mentally. You might need to size up or down from your normal hat size. Don’t assume anything. Some riders wear a large in one brand and a medium in another.
A proper fit prevents the helmet from rocking side to side and keeps your head centered on every lean and brake.
Pro tip: Visit a shop that lets you try helmets while sitting on a stationary bike or in riding position, not just standing. Your head position changes when you’re tucked or upright, and the fit should work in your actual riding posture.
Step 2: Select the right helmet size
Finding your actual helmet size is where most riders stumble. Size labels from different manufacturers don’t line up perfectly, so what fits in one brand might feel wrong in another. This step teaches you to ignore the label and focus on what actually works on your head.
Start by understanding that helmet size labels vary between manufacturers. A medium from one brand doesn’t equal a medium from another. Two people wearing the same size might need completely different helmet shapes because everyone’s head is uniquely shaped. Your goal is finding the size and shape combination that works for you, not matching a label.
Begin trying on helmets systematically:
- Start with your typical hat size as a baseline reference only
- Try at least three helmets in different sizes from the same brand
- Then test helmets from other manufacturers in your suspected size
- Don’t settle on the first helmet that feels okay
When you’re trying on helmets, look for these signs of a good fit. The helmet should sit level on your head, sitting low on your forehead about one or two finger-widths above your eyebrows. It shouldn’t rock side to side when you gently shake your head, and it shouldn’t move forward or backward when you try to shift it with your hands.

Check the cheek pad pressure carefully. It should feel snug without pinching. Your cheeks should touch the pads lightly but firmly. Some cheek pad compression is normal and healthy as foam breaks in over time, so account for that when trying on new helmets.
Understand how helmet sizes vary across manufacturers to make informed comparisons. The right fit ensures the helmet stays centered during hard braking, aggressive cornering, or any unexpected movement on the track.
Test the chin strap too. It should be snug enough that you can only fit one finger under it comfortably. If you can fit two fingers or move it around easily, the strap is too loose.
Some riders discover they need a size up for all-day comfort or a size down for track performance. Your choice depends on your riding intensity and how long you spend in the helmet during sessions.
A properly fitting helmet maintains contact with your head through every movement and never shifts or rocks, regardless of position or intensity.
Pro tip: Spend at least 15 minutes in each helmet before deciding. Your head settles into the pads slightly, and initial tightness often becomes comfortable after a few minutes of wearing it.
Step 3: Adjust helmet position and straps
Proper positioning and strap adjustment separate a helmet that protects you from one that just sits on your head. This step locks your helmet in place so it stays centered whether you’re accelerating on the freeway or leaning hard into a canyon turn.
Start by positioning the helmet correctly on your head. It should sit level and low on your forehead, about one or two finger-widths above your eyebrows. Too high and you expose your forehead in a crash. Too low and it restricts your vision. Get this right before touching the straps.
Now adjust the side straps. They should form a “V” shape beneath and slightly in front of your ears, meeting at a single point under your chin. This geometry keeps the helmet stable during movement and prevents it from tilting backward or forward.
Follow these adjustment steps in order:
- Loosen all straps completely before starting
- Position the helmet level on your head
- Bring the side straps up and adjust them to create that “V” shape
- Tighten until they’re snug but not uncomfortable
- Adjust the chin strap last, making it snug without pinching
Test the chin strap tension carefully. You should only fit one finger comfortably under it when fastened. If you can wiggle two fingers in there, it’s too loose and won’t hold the helmet securely during impact or sudden movement.
Understand that proper strap tension prevents the helmet from sliding or rocking during aggressive riding. Open your mouth wide and the chin strap should pull the helmet down slightly. That’s the sign you’ve got the tension right.
Do a final stability check. Gently shake your head side to side and front to back. The helmet shouldn’t move independently of your head. If it shifts or rocks, tighten the straps further or reconsider your size.
Remember that some compression and pressure is normal and healthy. Foam pads break in over the first few hours of wear, so initial snugness becomes more comfortable as the helmet settles.
A properly adjusted helmet maintains firm contact with your head at all points and never shifts, regardless of head movement or riding intensity.
Pro tip: Check your strap adjustment every 30 minutes during your first few sessions wearing a new helmet. Foam settles and straps can loosen, so periodic adjustments ensure consistent fit and protection as your gear breaks in.
Step 4: Verify helmet fit and comfort
You’ve positioned and adjusted your helmet, but now comes the real test. This step confirms your helmet actually works for extended wear and won’t betray you when you need it most. A comfortable helmet is one you’ll actually wear consistently.
Start by checking for even pressure distribution. Run your fingers around the inside of the helmet, feeling for tight spots or pressure points. The helmet should feel snug evenly across your forehead, sides, and back of your head. If you feel concentrated pressure in one area, that’s a hotspot that will cause discomfort during longer rides.
Look for these comfort indicators:
- No pinching or digging sensations anywhere on your head
- Vision that feels natural and unobstructed
- Hearing that remains clear and unblocked
- Cheek pads that contact your face firmly but not painfully
- A chin strap that feels secure without restricting jaw movement
Now comes the critical part. Wear the helmet for 30 to 45 minutes before making a final decision. Discomfort that seems minor at first can become unbearable during a two-hour track session or a Southern California commute. Your head settles into the padding, and you’ll notice pressure points that weren’t obvious in the first five minutes.
During this extended wearing period, test how the helmet performs with head movement. Turn your head side to side, look up and down, and move your jaw. The helmet shouldn’t shift or rock with these movements. Understand that helmet fit verification requires time and attention because discomfort leads riders to wear helmets improperly or remove them entirely.
Pay attention to your ears. They should sit comfortably under or just inside the helmet opening without being pinched or folded. Discomfort around the ears gets worse, not better, as time goes on.
After the 30 to 45 minute test, honestly assess whether you’d wear this helmet for every ride. If you’re thinking about removing it or dreading putting it back on, the fit isn’t right. Your ideal helmet should feel like you’re wearing nothing at all once you settle in.
A helmet that feels uncomfortable will be removed more often than worn, completely defeating its protective purpose regardless of safety ratings.
Pro tip: Take a short ride around your neighborhood during the fitting test, not just a stationary trial. Wind pressure, vibration, and actual riding position reveal comfort issues that sitting still never will.
Step 5: Test for performance and safety
You’ve found a helmet that fits and feels comfortable, but now you need to confirm it actually performs when it matters. This step ensures your helmet meets real-world safety standards and will protect you during the unexpected moments that happen on the road or track.
Understand what certified helmets have already endured. Helmets sold in the United States must pass DOT testing, which includes impact absorption, retention system strength, and penetration resistance. European helmets carry ECE certification, which uses even more rigorous protocols. Premium helmets meet Snell standards, the most demanding certification available.
Know what these standards mean for your protection. Impact attenuation testing uses instrumented headforms dropped onto anvils simulating different surface types to measure how well the helmet absorbs energy. Retention system tests confirm the chin strap keeps the helmet secured during violent head movement. These aren’t theoretical exercises. They replicate crash scenarios.
When evaluating your helmet’s performance credentials, check for these certifications:
- DOT marking on the back of the helmet (United States standard)
- ECE 22.06 label (European standard, widely recognized globally)
- Snell M2020 or M2025 certification (premium protection level)
- Multiple certifications indicate higher safety standards
Inspect your helmet before each ride for signs of damage. Even minor impacts can compromise the helmet’s protective structure. Replace your helmet immediately if it’s taken any impact, even low-speed ones that seem inconsequential. The damage is often internal and invisible.
Rotate your helmet out after five years of regular use, even without crashes. Foam degrades over time, and ultraviolet exposure weakens the outer shell. Track helmets used intensively should be replaced annually or sooner depending on frequency.
Test your helmet’s retention by simulating real riding conditions. Wear it during aggressive head movements, quick turns, and while accelerating. The helmet should stay perfectly positioned without shifting. If it moves under these forces, tighten straps further or reconsider your size selection.
Your helmet’s safety depends on consistent use with proper fit. A certified helmet that doesn’t fit correctly provides less protection than a well-fitted helmet meeting slightly lower standards.
A properly fitting, certified helmet that stays on your head during every ride offers dramatically better protection than any helmet you leave at home because it feels uncomfortable.
Pro tip: Mark your helmet’s purchase date with permanent marker on the interior. This simple habit prevents the common mistake of wearing a helmet beyond its protective lifespan.
Find the Perfect Helmet Fit with Confidence at DMG Motorsports
Getting the right motorcycle helmet fit is more than just picking a size. It means understanding helmet anatomy, sizing differences, and strap adjustments so you can ride comfortably and safely every time. From eliminating pressure points to ensuring your helmet stays rock solid on every turn, the challenge is real but solvable.
At DMG Motorsports, we are riders who get it. We specialize in premium riding gear and protective equipment designed to deliver the balance of performance and comfort discussed in this guide. With access to top manufacturers and expert support, you can find helmets that meet strict safety certifications like DOT, ECE, and Snell with a fit made for your unique head shape and riding style.
Start your journey to a helmet that feels like part of you by exploring our extensive collection at DMG Motorsports. Take advantage of our rider-focused service, competitive pricing, and trusted safety insights to get the helmet that keeps you protected and comfortable on every ride. Don’t wait until discomfort ruins your ride or safety is compromised. Find your perfect fit now and experience the difference that expert gear makes.
Frequently Asked Questions
How do I prepare for a motorcycle helmet fitting?
To prepare for a motorcycle helmet fitting, gather multiple helmet options and bring your riding gear. Wear the gear that you typically use to ensure the helmet fits well with the equipment you’ll wear while riding.
What size helmet should I choose if labels vary between brands?
Focus less on the size label and more on the actual fit. Try on at least three helmets from the same brand and then from other manufacturers to find the combination of size and shape that feels right for your head.
How can I ensure my helmet is positioned correctly on my head?
Your helmet should sit level and low on your forehead, approximately one or two finger-widths above your eyebrows. Adjust the side straps to create a “V” shape beneath your ears for stability while riding.
What should I feel when I test the fit of my helmet?
You should experience even pressure distribution without any pinching or discomfort. Wear the helmet for 30 to 45 minutes to identify any pressure points and ensure that it remains comfortable during movement.
How do I check the safety ratings of my motorcycle helmet?
Inspect your helmet for safety certification markings like DOT, ECE, or Snell. Verify that it meets performance standards to ensure adequate protection during rides, looking for certifications on the back or inner label of the helmet.
How often should I replace my motorcycle helmet?
You should replace your helmet after five years of regular use or immediately following any significant impact. This ensures that foam degradation and potential hidden damage do not compromise your safety while riding.
Recommended
- Best Motorcycle Helmets of 2025 (Beginner to Pro Riders) - DMG Motorsports
- The Types of Motorcycle Helmets for Different Riding Styles - DMG Motorsports
- Staying Safe and Stylish on the Track: The Importance of Proper Motorcycle Gear - DMG Motorsports
- Motorcycle Helmet Safety Ratings Explained — DOT vs ECE vs Snell vs FIM (2026 Guide) - DMG Motorsports