

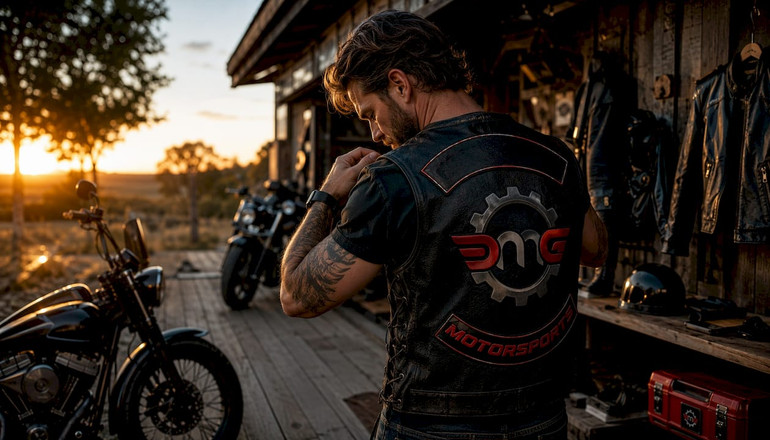
Motorcycle Club Back Patch Placement: 2026 Guide
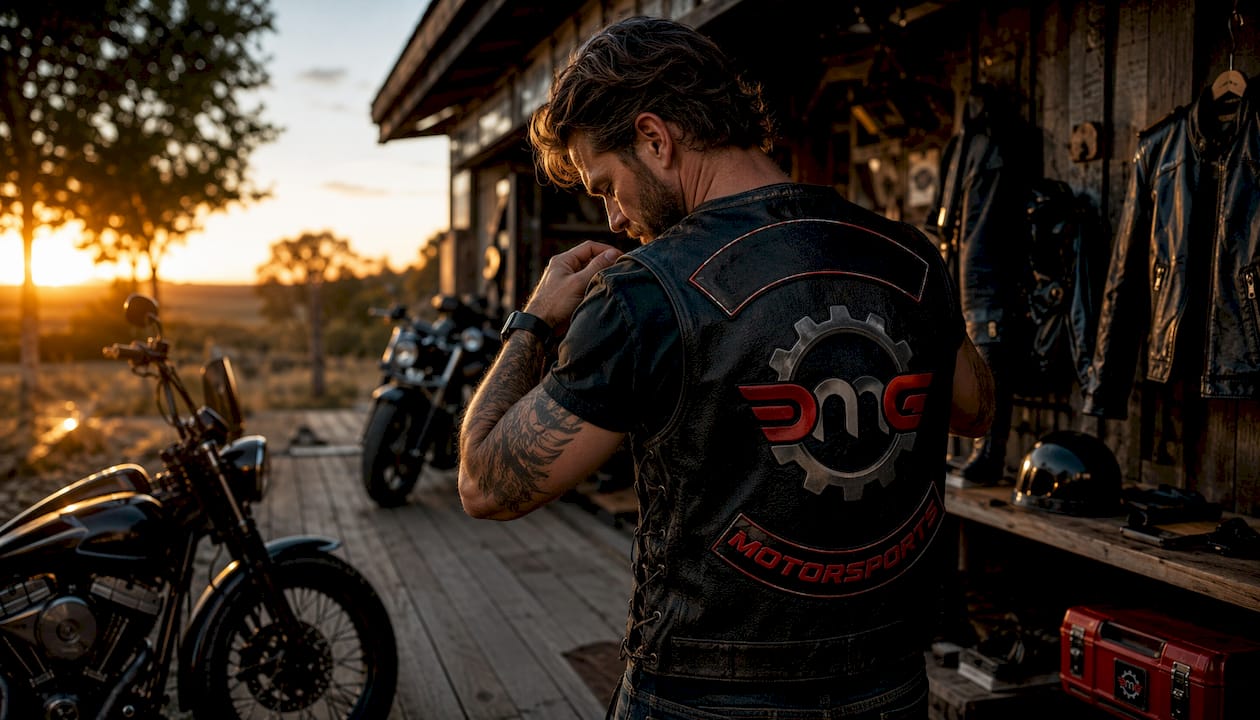
Motorcycle club back patch placement follows a precise, three-part arrangement that every rider on American roads recognizes instantly. Get it right, and your cut tells a story. Get it wrong, and you might be telling the wrong story to the wrong crowd. Whether you’re gearing up for your first ride or just want to understand what those patches actually mean, this guide breaks it all down.
Table of Contents
- What is the traditional layout for motorcycle club back patches?
- Why patch placement carries serious cultural and political weight
- How the three-piece patch format evolved over decades
- How front chest patches work on a riding vest
- Practical guidance for placing patches on your protective gear
- How to attach patches without wrecking your gear
- How patch traditions vary by region and club type
- What actually happens when patch placement goes wrong
- Key Takeaways
What is the traditional layout for motorcycle club back patches?
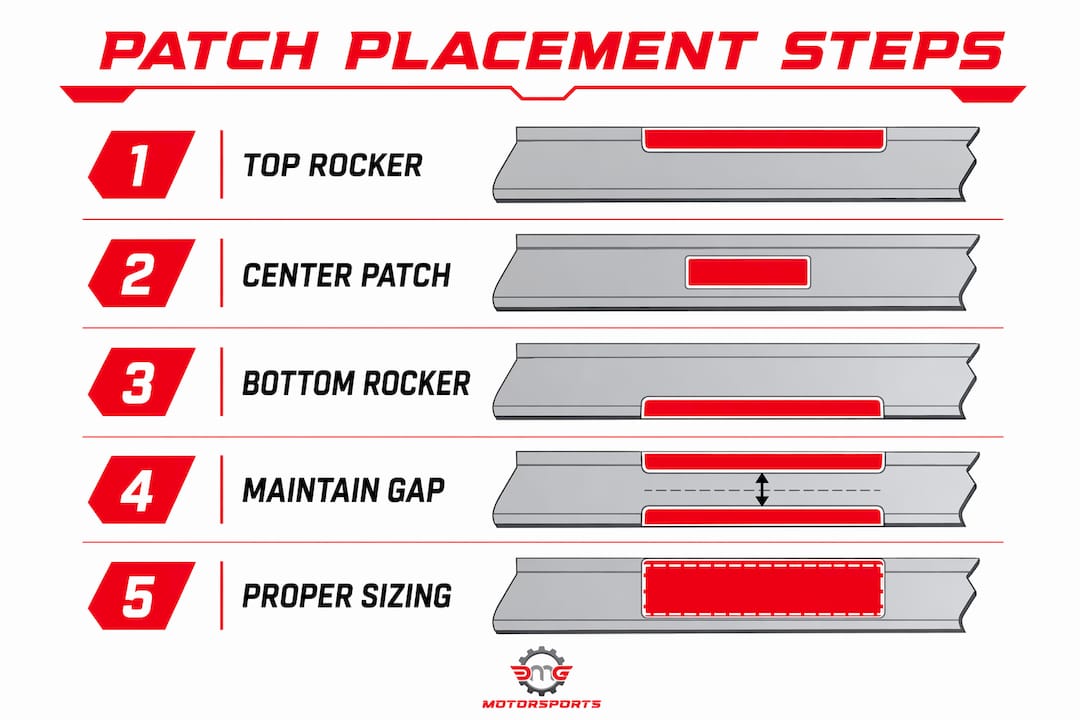
The three-piece patch is the gold standard of MC identity, and every element has a fixed address on the back of your cut. Think of it as a visual ID card that other riders can read at highway speed.
- Top rocker: Arched across the upper back panel, just below the collar seam. Displays the club name. Typically 10–12 inches wide, 2–3 inches tall.
- Center patch: The club’s emblem or logo, sitting in the middle third of the back panel between the two rockers. Standard size runs 8–12 inches wide.
- Bottom rocker: Mirrors the top rocker in shape and size (10–12 inches wide, 2–3 inches tall), arched across the lower back panel above the hem. Declares territory or chapter.
Spacing matters just as much as size. A ¼ to ½ inch gap of visible vest material between each element keeps the set reading as three distinct pieces that still function as one unified statement. Too tight and it looks crowded. Too loose and the whole thing falls apart visually.
| Patch Element | Position | Typical Size |
|---|---|---|
| Top Rocker | Upper back, below collar | 10–12 in. wide, 2–3 in. tall |
| Center Patch | Middle of back panel | 8–12 in. wide |
| Bottom Rocker | Lower back, above hem | 10–12 in. wide, 2–3 in. tall |
Why patch placement carries serious cultural and political weight
The bottom rocker is the most politically charged piece of fabric in motorcycle culture. Full stop. It declares territorial ownership, and wearing one without proper MC standing is the single most serious patch protocol violation you can commit on a cut.
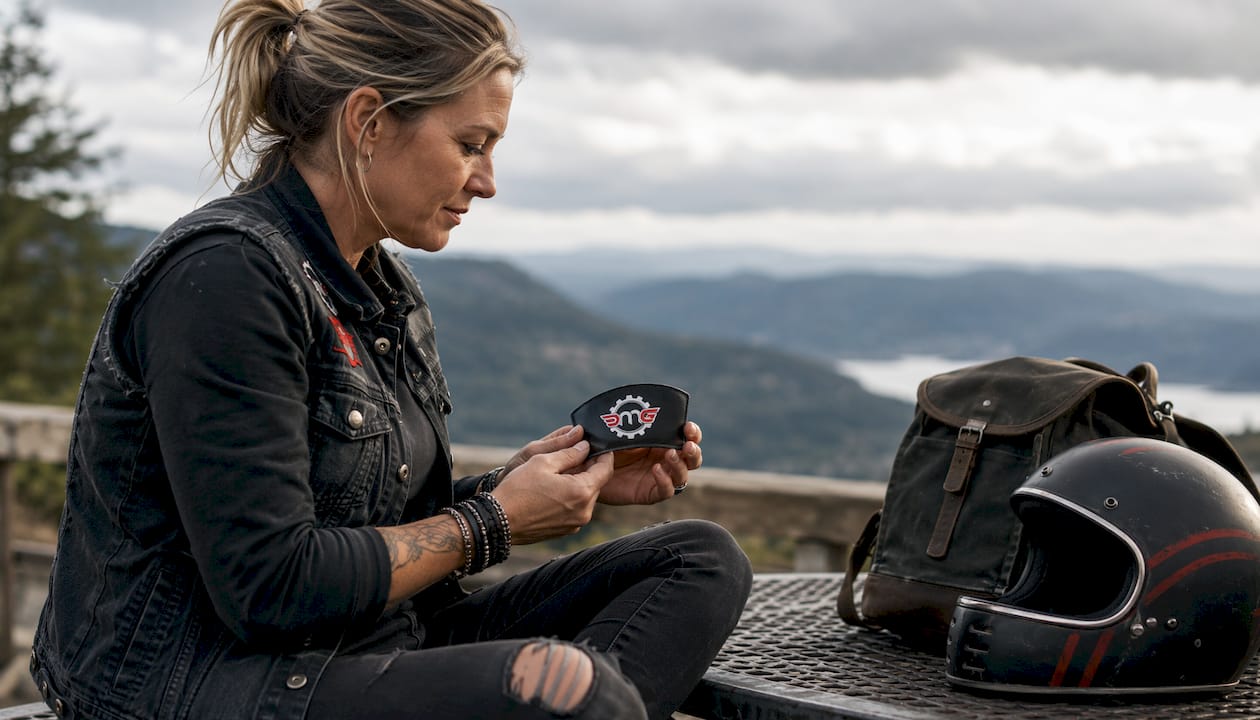
Clubs treat their patch artwork with the same seriousness that corporations apply to trademarks. The center patch, in particular, is often registered as a collective membership mark with the USPTO, which makes copying it both legally risky and culturally disrespectful. You wouldn’t slap a Fortune 500 logo on your jacket without permission, and the same logic applies here.
Social consequences for unauthorized patch use range from a firm conversation to something far less pleasant. Incorrect patch arrangement can signal an unearned rank or an intentional territorial challenge, neither of which ends well for the rider wearing it. Social and riding clubs that want to show respect for traditional MC culture deliberately skip the bottom rocker entirely, opting for a two-piece setup instead.
How the three-piece patch format evolved over decades
The three-piece patch design emerged in the 1940s as a cultural marker separating formally chartered motorcycle clubs from casual riders. What started as a practical way to display club identity became a deeply protected symbol with its own unwritten constitution.
As club culture spread across the United States through the postwar decades, patch placement rules became more codified. Clubs formalized the top-center-bottom arrangement, and the bottom rocker evolved into the territorial claim it is today. The three-piece set functions as a visual language communicating membership, rank, and territorial domain simultaneously.
Independent riders and social clubs gradually developed their own patch conventions in response, creating the one-piece and two-piece formats that signal “we’re organized but not claiming territory.” That distinction is understood throughout the riding community.
How front chest patches work on a riding vest
The back panel gets all the glory, but the front of your cut is doing real organizational work too. Rank patches on the front left chest identify leadership roles like President, Vice President, or Road Captain. The front right chest holds the member’s name or road name patch.
- Left chest: Officer rank, club name designation, or membership status. The most prominent front position.
- Right chest: Personal name patch, road name, or hometown identifier.
- Collar and lower front: Secondary patches, event patches, or personal symbols.
Casual riders and social club members have considerably more flexibility on the front panel. The left/right chest convention functions as a guideline rather than a hard rule outside of traditional MC culture. That said, mimicking the front patch configuration of a specific MC is off-limits regardless of your affiliation status.
Pro Tip: Never replicate another club’s front panel layout, even if you’re just going for a similar aesthetic. Other riders will notice, and the conversation that follows won’t be about your taste in design.
Practical guidance for placing patches on your protective gear
Respecting patch culture starts before you ever pick up a needle. Use tailor’s chalk or masking tape to test your patch layout on the vest before committing to permanent attachment. Gear moves and curves when worn, so what looks balanced on a flat table can shift once you’re actually in the jacket.
- Lay all patches flat on the vest and step back to check visual balance before marking anything.
- Stick to single or two-piece patch designs if you’re unaffiliated with a chartered MC.
- Never wear a bottom rocker as an independent or social club rider.
- Get club approval for any artwork before production, even for designs not linked to a formal club.
Size your patches to match your garment. A center patch that’s too small leaves the back panel looking unfinished, while oversized rockers overwhelm the whole setup. For non-MC riders using a single statement patch, a 10–14 inch piece fills the back panel without bleeding into seam areas.
How to attach patches without wrecking your gear
The attachment method depends entirely on what your jacket or vest is made from. Sew-on patches are the standard for leather cuts, full stop. Iron-on adhesive backing can damage leather and tends to fail under the heat and friction of regular riding. For textile jackets, iron-on backing can work as a temporary hold before final sewing, but sewing over it adds durability.
Use a heavy-duty needle (size 16 or 18) and polyester thread for leather work. A sewing awl handles thick leather better than a standard machine. For textile vests, a regular sewing machine set to a longer stitch length keeps the fabric from puckering around the patch edges. Always sew the outer edge first, then work inward to prevent bubbling.
How patch traditions vary by region and club type
Patch placement rules aren’t identical coast to coast. Regional MC culture in the American South tends to be more formal about three-piece conventions, while West Coast clubs sometimes incorporate additional side patches or support patches that reflect local riding culture. Christian biker clubs and veterans organizations often place faith-based or service insignia in positions that traditional MCs reserve for rank patches, reflecting their different organizational priorities.
Riding clubs (RCs) across the country follow a two-piece format as a deliberate sign of respect, pairing a top rocker with a center patch and leaving the bottom rocker position empty. That absence communicates “organized but not territorial” to every experienced rider who sees it.
What actually happens when patch placement goes wrong
Wearing an unauthorized bottom rocker in territory claimed by an active MC is the fastest way to have a very uncomfortable roadside conversation. Incorrect patch placement reads as either a territorial challenge or a claim to rank you haven’t earned, and experienced riders spot it immediately.
If a senior club member asks you to remove patches that conflict with local territorial claims, the expected response is compliance. Clubs protect their colors with the same energy they’d bring to any other serious boundary violation. For riders who genuinely want to display club pride without the political baggage, a clean one-piece back patch or a two-piece RC-style setup communicates personality and affiliation without stepping on anyone’s territory.
Key Takeaways
Proper motorcycle club back patch placement follows a universal three-piece layout where spacing, size, and the presence or absence of a bottom rocker communicate club status, rank, and territorial claims to every rider on the road.
| Point | Details |
|---|---|
| Three-piece layout is fixed | Top rocker, center patch, and bottom rocker each have a set position and size on the back panel. |
| Bottom rocker signals territory | Only chartered MC members wear a bottom rocker; riding clubs and independents deliberately omit it. |
| Spacing keeps the set cohesive | A ¼ to ½ inch gap between patches reads as three distinct pieces unified into one statement. |
| Front chest follows left/right convention | Rank patches go on the left chest; name and road name patches belong on the right chest. |
| Test placement before sewing | Tailor’s chalk or masking tape prevents crooked, distorted patches on finished gear. |
Ready to gear up with the right protective jacket or vest for your patches? Dmgmotorsports carries premium riding apparel built for real riders who take both safety and style seriously.