

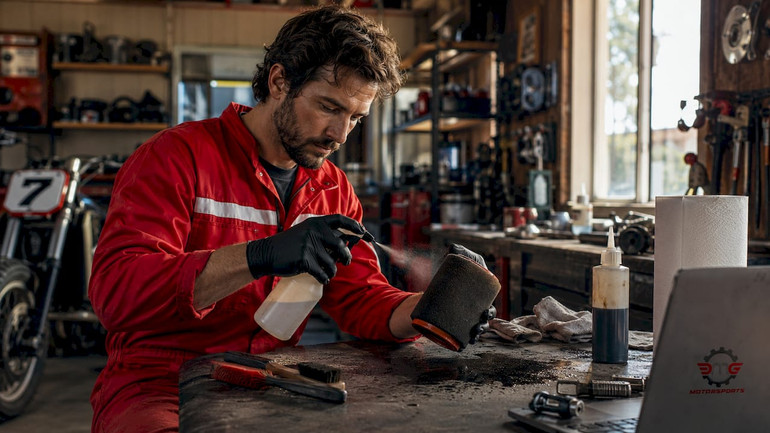
How to Clean a Motorcycle Air Filter the Right Way
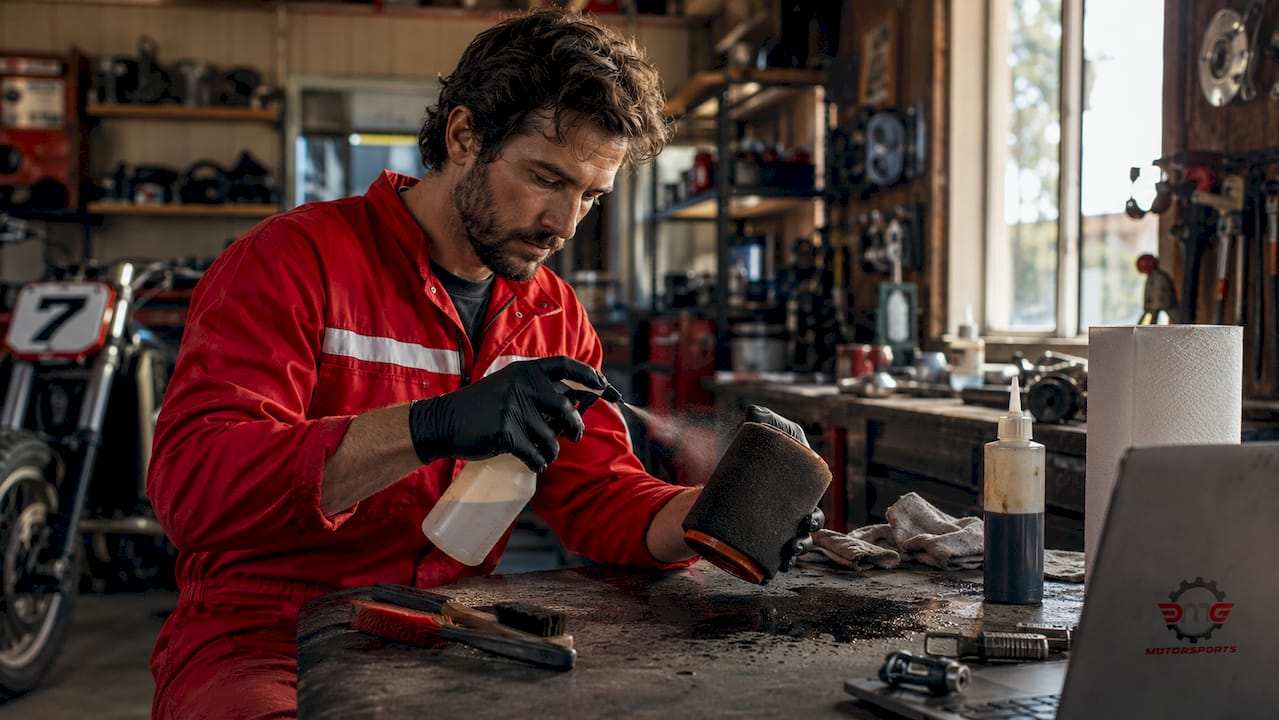
Your engine’s lungs deserve better than a clogged, oil-starved filter choking the life out of every ride. The right way to clean a motorcycle air filter depends entirely on which filter type you’re running: foam gets soaked, kneaded, dried, and re-oiled; cotton gauze (K&N style) gets brand-specific cleaner, a gentle rinse, and fresh oil; paper gets tossed and replaced. Full stop. Get that part wrong and you’re either letting grit eat your pistons or starving your engine of air. Neither is a good time.
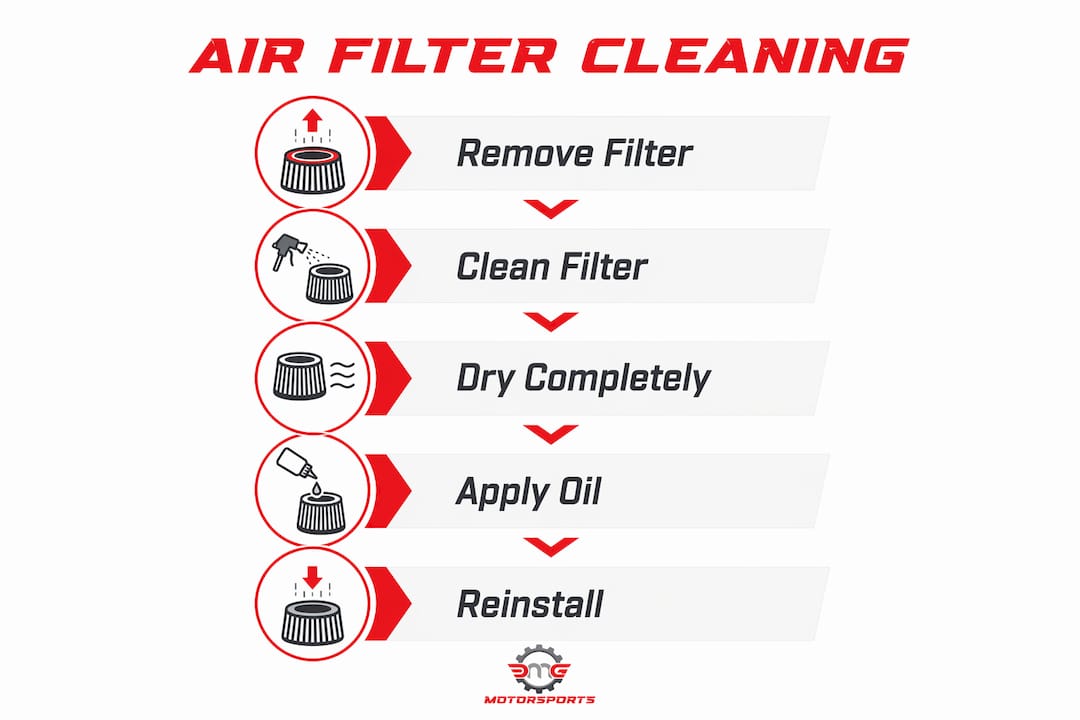
How to clean a motorcycle air filter safely and effectively
Before you touch a single bolt, identify your filter type. The cleaning method that saves a foam filter will destroy a paper one, and vice versa. Here’s the fast-reference breakdown:
- Identify your filter first. Foam, cotton gauze, or paper. Each has its own protocol.
- Use the right cleaner. Simple Green Pro HD and Dawn dish soap work well for foam filters in diluted, warm water rinses. Cotton gauze filters need brand-specific kits.
- Never use gasoline, WD-40, or brake cleaner. These solvents degrade foam and dissolve seam adhesives. Petroleum-based chemicals are a filter’s worst enemy.
- Skip the compressed air for cleaning. It can blast debris deeper into the media and damage delicate cotton pleats or foam pores.
- Dry completely before re-oiling. A wet filter plus oil equals uneven coverage and potential engine moisture ingestion.
- Re-oil foam and cotton filters every time. The oil is the active filtering element, not just a coating. Without it, fine dust passes straight through.
- Grease the sealing rim with a thin bead of waterproof grease where the filter contacts the airbox housing, unless your filter uses a neoprene sealing ring. Grease on neoprene attracts grit and degrades the seal.
- Paper filters get replaced, not washed. Water ruins the cellulose fibers permanently.
What filter type are you actually running?
Three main filter types exist across the motorcycle world: paper, foam, and cotton gauze. Knowing yours changes everything about how you approach maintenance.
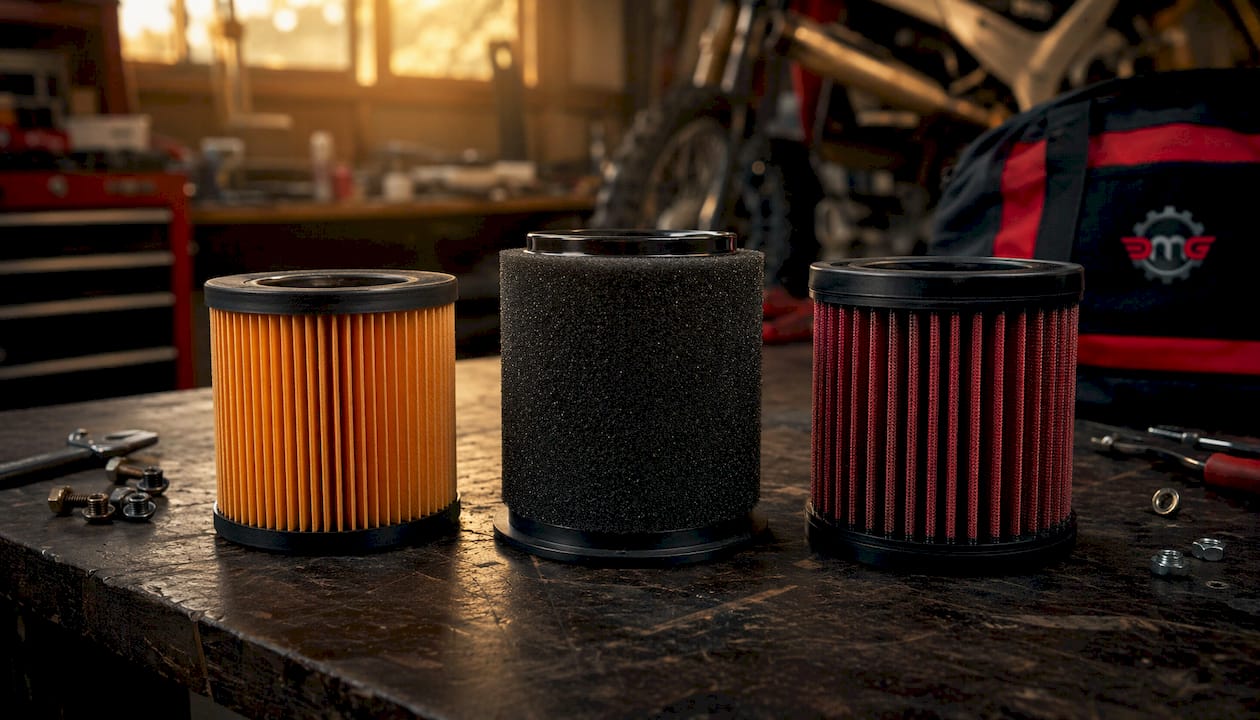
Paper filters are the disposable workhorses found on most stock street bikes. They do a solid job keeping debris out, but the cellulose fibers degrade the moment water touches them. Paper filters should be tapped gently to knock loose debris free, then replaced when dirty. Washing them is not a cleaning strategy. It’s a filter funeral.
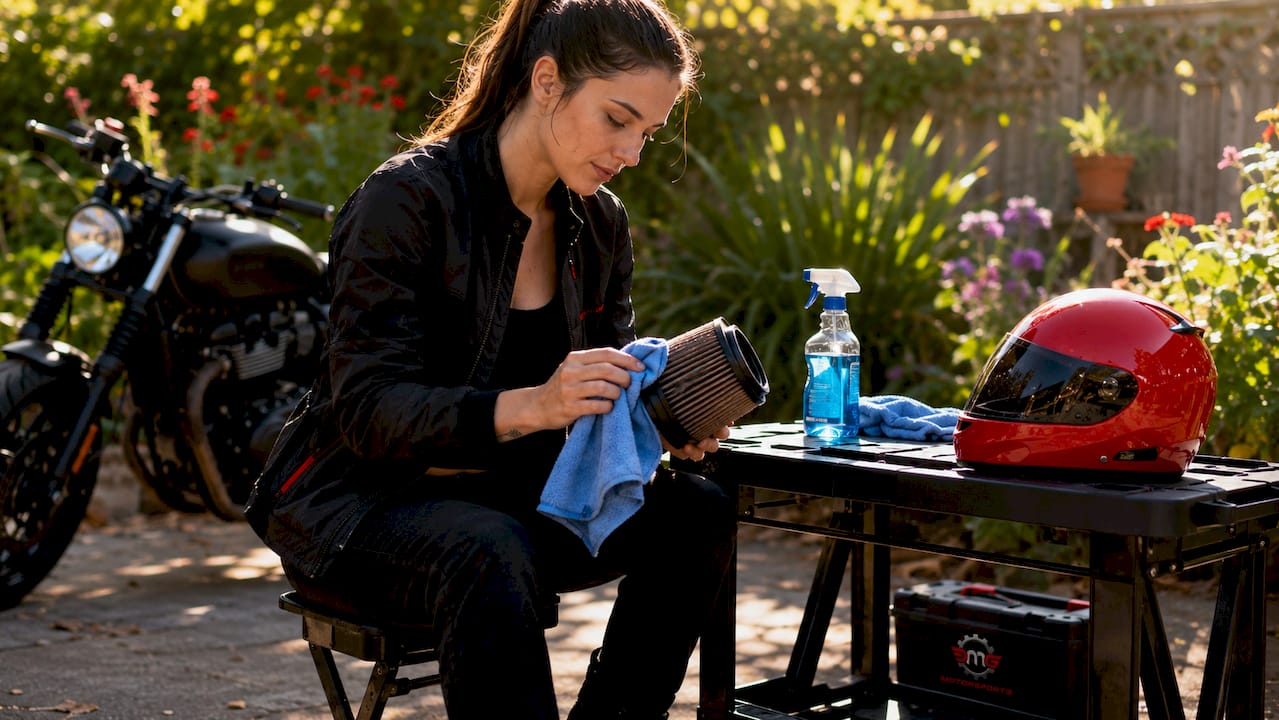
Foam filters are the go-to for dirt bikes, enduro, and off-road machines. Think of them like a sponge that’s been soaked in tacky oil. That oil traps microscopic dust and sand before it reaches your cylinders. Foam filters are washable and reusable many times over, which is why every serious off-road rider needs to master the cleaning process.
Cotton gauze filters (the K&N style) are layered, pleated, and treated with a specialized oil. They balance airflow and filtration beautifully, making them popular on street and adventure bikes. The catch: they require brand-specific cleaning kits. Mixing chemical ecosystems (say, using the wrong cleaner on a petroleum-based oil system) creates a sticky residue that ruins the filter.
- Paper: replace when dirty, never wash
- Foam: soak, knead, rinse, dry, re-oil every cleaning cycle
- Cotton gauze: brand-specific cleaner, low-pressure rinse, air dry, re-oil per pleat
Step-by-step: cleaning foam and cotton gauze filters
Grab your cleaner, a bucket, and some patience. This takes 15–30 minutes and costs almost nothing in materials.
- Prep the airbox area. Wipe away mud and dust from the seat and airbox cover before opening anything. Stuff a clean rag into the intake opening the moment the filter comes out. Nothing falls into the engine on your watch.
- Inspect the filter. Check for tears, cracked rubber collars, or separated seams. Any damage means replacement, not cleaning. A new filter costs far less than a cylinder job.
- Soak in the right cleaner. For foam, submerge in a purpose-made foam filter cleaner (or a diluted Simple Green solution) for 1–5 minutes. For cotton gauze, spray brand-specific cleaner generously on both sides and let it sit for 10 minutes to dissolve old oil and embedded dirt.
- Knead gently, never wring. Work the foam with your hands to release trapped dirt. Never twist, wring, or stretch it. Invisible micro-tears let abrasive grit bypass filtration entirely. For cotton gauze, let the cleaner do the heavy lifting.
- Rinse from the inside out. Use warm, low-pressure water. Rinsing from the clean side outward pushes contaminants away from the filtration surface rather than deeper into it. Keep rinsing until the water runs clear.
- Air dry completely. Squeeze foam gently (no wringing) and set both filter types upright in a clean, dust-free area. No heat guns, hair dryers, or clothes dryers. Heat destroys foam adhesive and shrinks cotton gauze. The filter must be bone dry before any oil goes on.
- Clean the airbox while you wait. Wipe the inside of the airbox with a clean cloth and check for moisture or mud. A fresh filter dropped into a dirty airbox picks up contamination immediately.
- Re-oil evenly. For foam, place the filter in a plastic bag with oil, massage until the entire filter shows uniform color with no dry spots, then squeeze out excess. For cotton gauze, apply oil one pleat at a time and let it wick for about 20 minutes, then touch up any uncolored spots. Re-oiling is essential because the oil traps microscopic dust and sand. Without it, filtration is ineffective and engine damage follows.
- Let the filter rest before installing. After oiling, give the filter time in a ventilated area before starting the engine. This allows carrier solvents to evaporate, preventing erratic idle or backfiring on startup.
- Grease the seal rim (if applicable). Apply a thin bead of waterproof grease to the filter’s contact rim for an airtight fit. Skip this step if your filter has a neoprene sealing ring.
- Reinstall carefully. Confirm correct orientation, seat the filter fully, and remove the rag from the intake before closing the airbox. Check that the lid seats evenly before tightening screws in an alternating pattern.
Pro Tip: Over-oiling a cotton gauze filter is the most common mistake riders make. Excess oil coats the MAF or MAP sensor on fuel-injected bikes, causing fuel injection errors and diagnostic codes that are expensive to chase. Apply oil sparingly. Even, complete coverage beats heavy coverage every time.
How often should you clean your air filter?
Cleaning intervals depend almost entirely on where and how hard you ride. MX and enduro racers should clean their filter after every ride or every few hours of use. Street riders can typically go several thousand miles between cleanings under normal conditions.
- MX/enduro/off-road: After every ride, or every 2–3 hours of use in dusty or muddy conditions
- Adventure and ADV riding: Every 100–500 miles in heavy dust or gravel; inspect after every trip
- Street riding: Inspect every few thousand miles; full cleaning around every 5,000–12,000 miles
- Signs you can’t ignore: Visible dirt loading, loss of top-end pull, sluggish throttle response, or unknown service history on a used bike
Sand and dust are brutal. After just a few hours in dry, dusty terrain, a filter can restrict airflow enough that the engine loses noticeable power. Don’t wait for symptoms. Make filter inspection part of your regular routine.
Common mistakes that wreck filters and engines
Most filter damage is self-inflicted. Here’s what to stop doing immediately.
- Blasting with compressed air or a pressure washer. High pressure damages cotton pleats and foam pores. It also drives dirt deeper into the media instead of removing it.
- Using gasoline, WD-40, or harsh solvents. These degrade polyurethane foam and dissolve seam adhesives. The filter loses elasticity, becomes brittle, and micro-cracks appear.
- Wringing or twisting foam filters. Gentle squeezing only. Wringing creates invisible tears that let grit reach your engine cylinders.
- Over-oiling. Oil dripping into the airbox gets pulled into the engine, fouling spark plugs and coating sensors. If the filter drips, blot the excess before installing.
- Installing a wet filter. Water mixed with oil destroys even coverage and can introduce moisture into the intake. Always wait for complete drying.
- Greasing a neoprene seal. Grease on neoprene attracts dust and creates an abrasive paste that degrades the ring over time. Only grease traditional foam filter bases without a dedicated neoprene ring.
- Reusing a damaged filter. A torn filter or cracked collar is not an economy move. It’s a direct path to engine repairs that cost orders of magnitude more than a replacement filter.
Key Takeaways
Properly cleaning a motorcycle air filter requires matching the method to the filter type, drying completely, and re-oiling foam and cotton gauze filters every single time.
| Point | Details |
|---|---|
| Match method to filter type | Foam gets soaked and re-oiled; cotton gauze uses brand-specific kits; paper gets replaced, never washed. |
| Re-oiling is non-optional | The oil is the active filtering element in foam and cotton filters. Skipping it leaves your engine unprotected. |
| Cleaning frequency varies | MX and enduro riders should clean their filter after every ride or every 2–3 hours of use; street riders typically clean every 5,000–12,000 miles. |
| Never wring or use compressed air | Both methods cause invisible damage that lets abrasive grit bypass filtration and reach the engine. |
| Dry completely before reinstalling | Moisture under oil prevents even coverage and can introduce water into the intake tract. |
Ready to stock up on filter oil, cleaning kits, and everything else your bike needs? Dmgmotorsports carries premium maintenance supplies and motorcycle accessories for every type of rider, from weekend street cruisers to full-send enduro warriors. Keep your filter clean, keep your engine happy, and keep the rubber side down.

Recommended
- Motorcycle Cover Selection Guide: Choose Right Every Time - DMG Motorsports
- Motorcycle Gear Breathability: What Every Rider Must Know - DMG Motorsports
- Staying Safe and Stylish on the Track: The Importance of Proper Motorcycle Gear - DMG Motorsports
- Motorcycle Service Explained: Boosting Performance and Safety - DMG Motorsports